
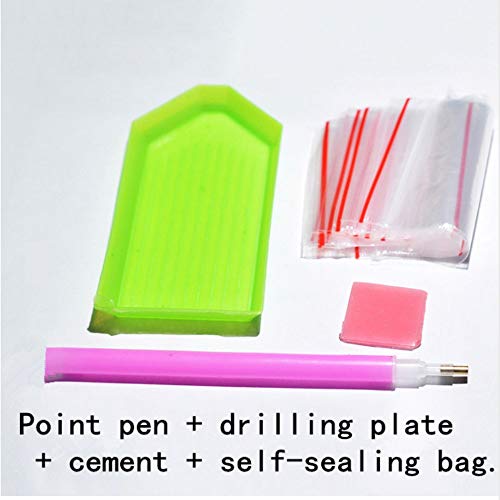

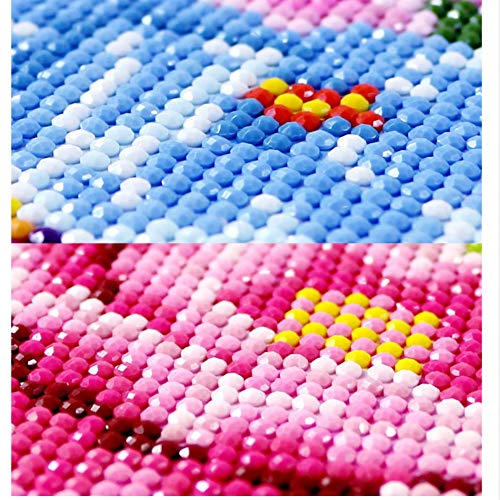
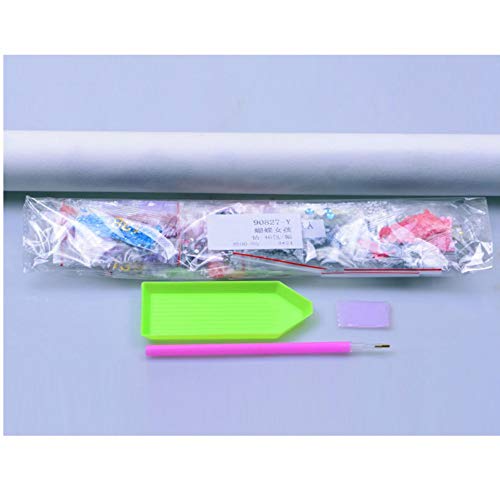
Production Guide: 1. Open the box and check the special tools for diamond painting. 2. Refer to the table below the canvas to find the corresponding Rubik's Cube Diamond. 3. Apply a proper amount of diamond binder to the pen. 4. Paste the corresponding diamond. 5. Stick the diamond to the corresponding canvas. 6. The remaining diamonds can be placed in a zip pocket. 7. Press the diamond with a book or hand to make it stronger. Using Diamond Painting 1 can help the elderly spend time. Give them DIY diamonds and give them a leisurely time. 2. Develop your child's hands-on ability and patience. Let DIY diamond painting enhance their understanding and beauty of color, cultivate children's hands-on ability and patience, and make them more enthusiastic about the world. 3, can give friends. You can give your friends a finished product to express your feelings, or give a friend a product to experience happiness and achievement. 4, you can decorate your home. The finished product can be hung in the living room, study and bedroom to add an artistic touch.notes:1. The product does not include a frame.2. After the drill is finished, it can be compacted with flat items (such as books) to increase adhesion and overall effect.3. Resin diamonds are not edible. Don't let your child play to avoid accidents such as swallowing.4. The printed pattern needs to be kept clean so as not to stick to the dust and affect the adhesion of the drill bit and the pattern.
Trustpilot
2 months ago
1 day ago
