


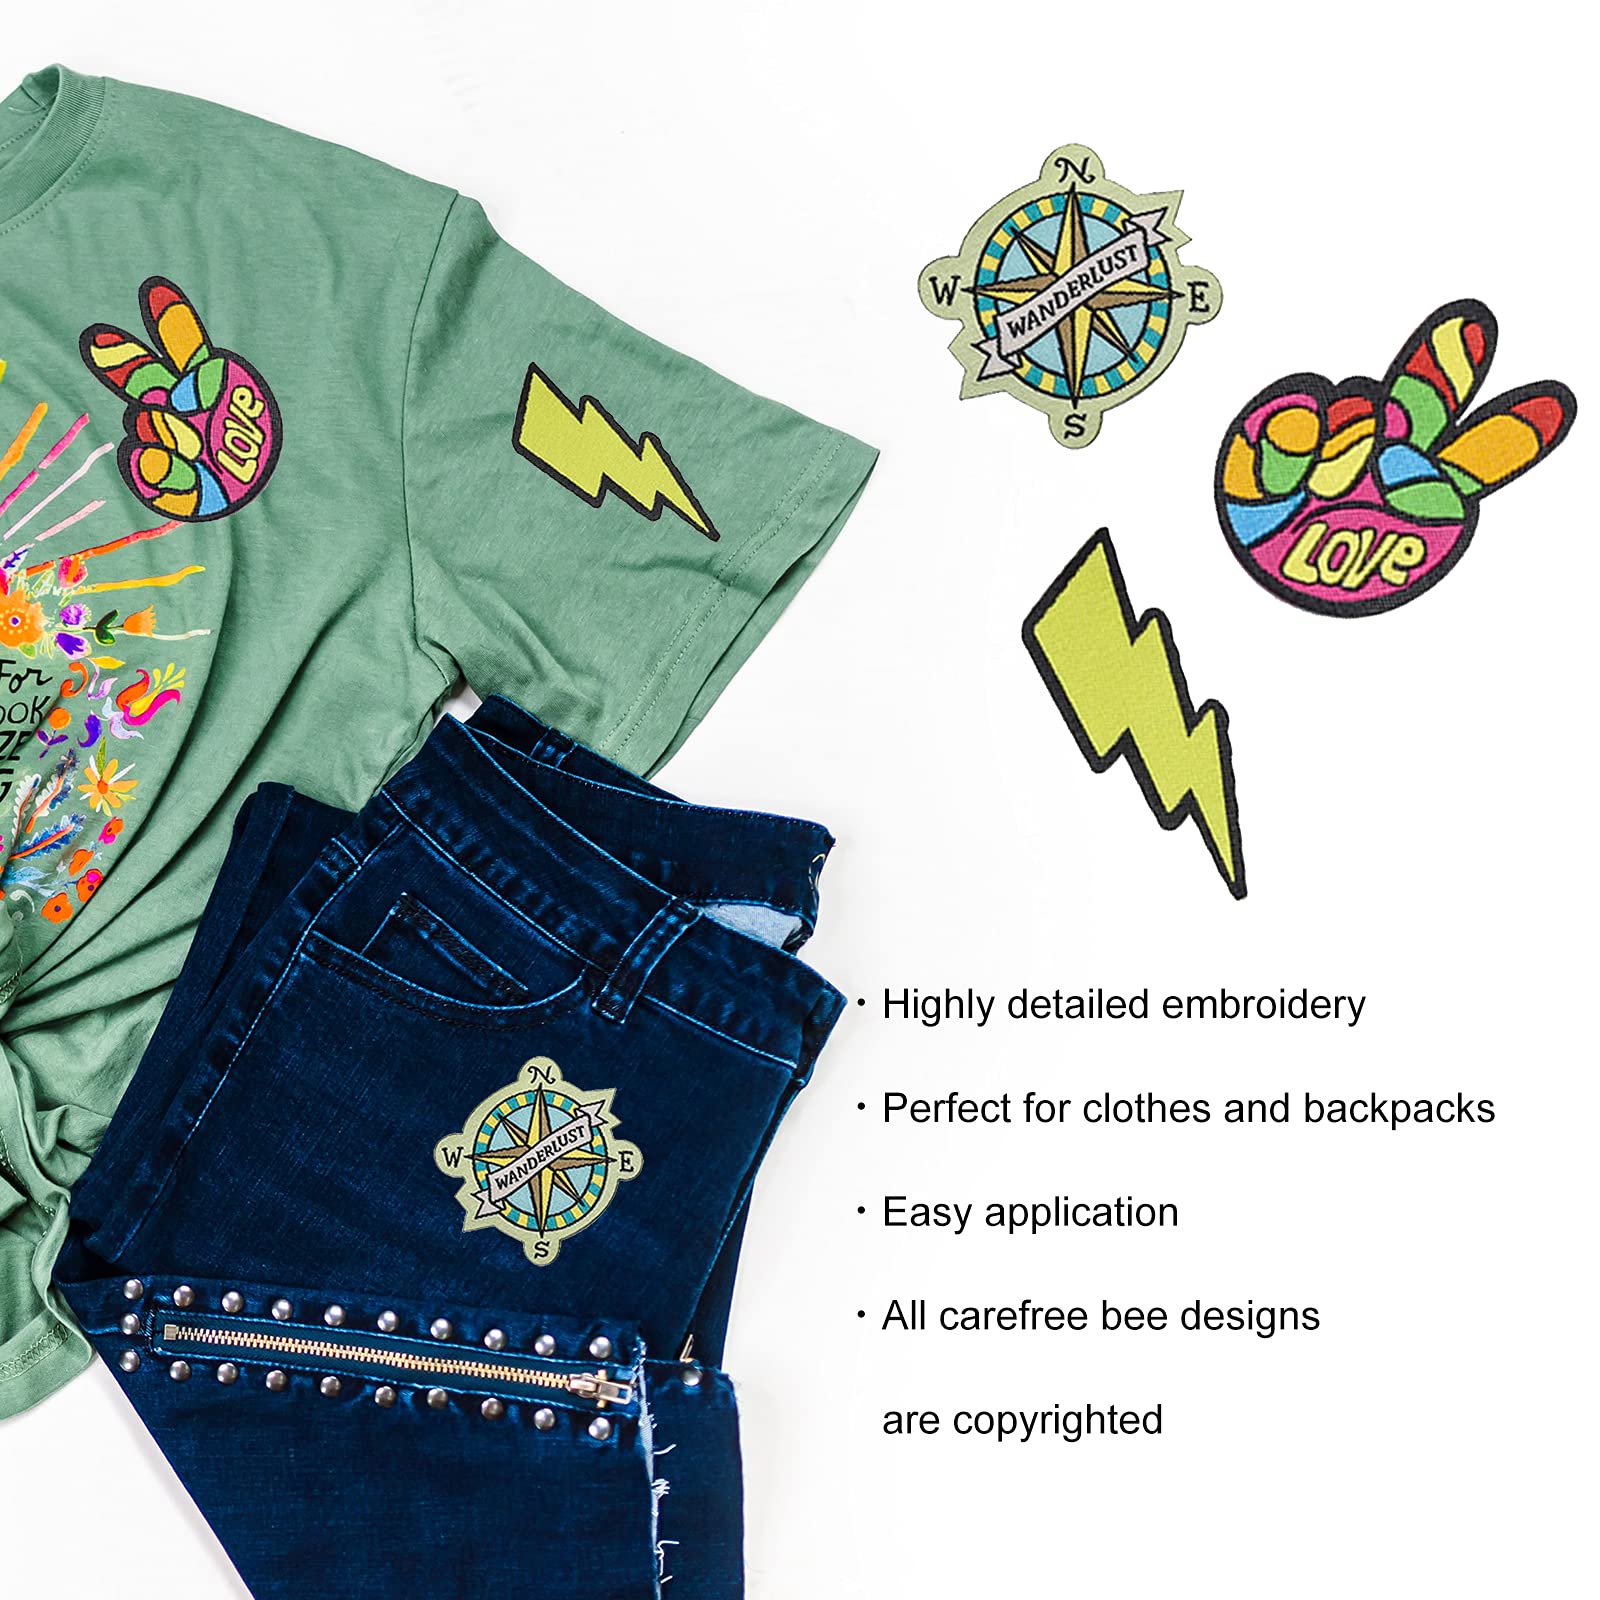


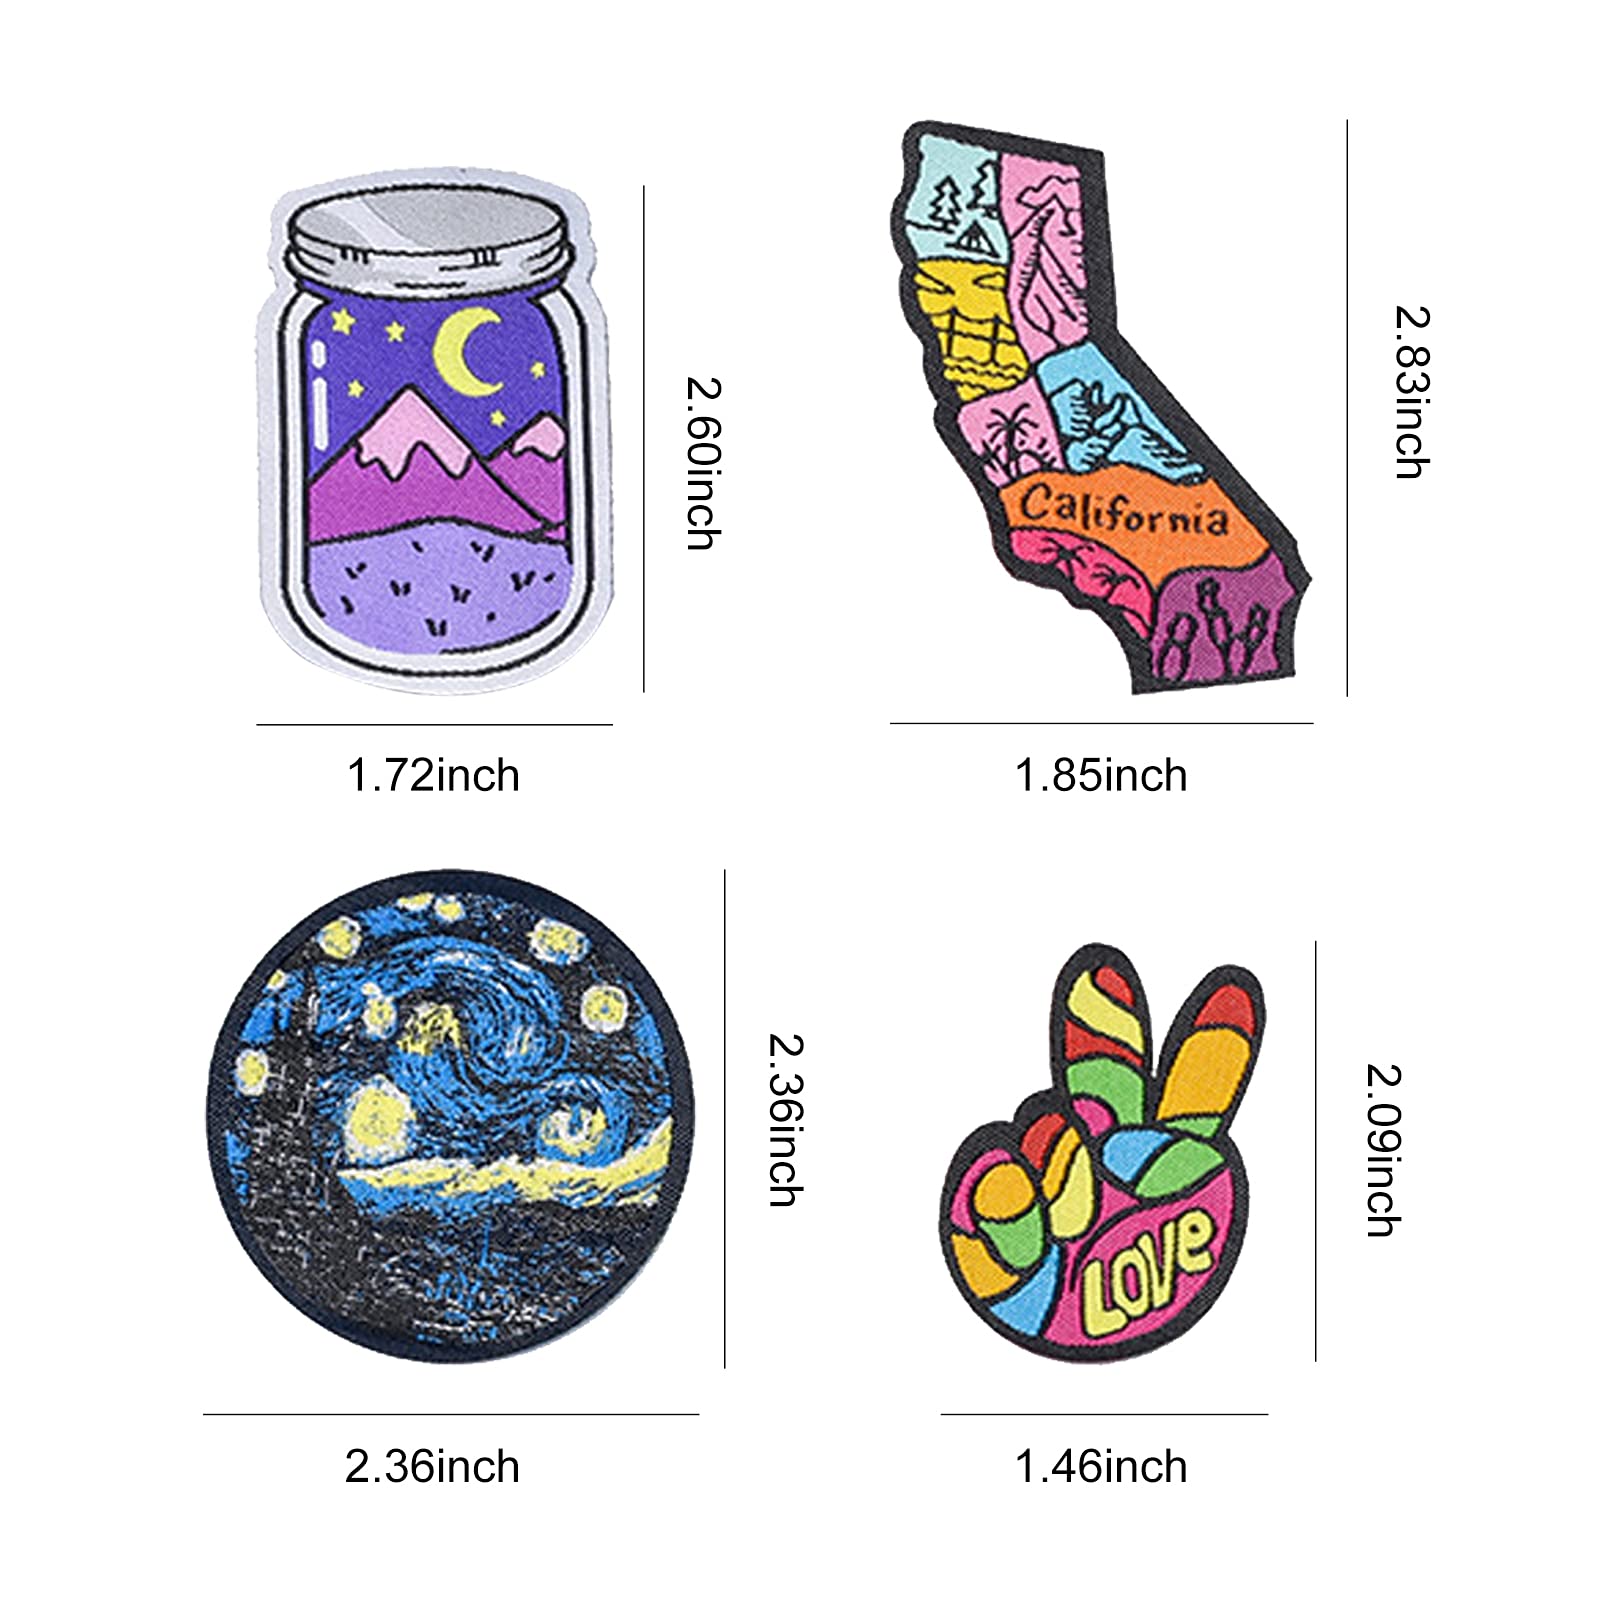

【Instructions of Ironing Embroidery Patch】1. Put the outdoor embroidery patches on the position you want to paste (the glue can't be peeled off).2.Preheat the iron then iron it from the front side of the patch for 10-20 seconds to fixed its position, or you can also use a needle to thread and fix it.3.Then iron from the reverse side for 30-60 seconds to ensure that the hot-melt glue melts and the patch is firmly attached to the clothes (or other textiles).4. Iron from the front side for 1-2 minutes again, mainly iron the edges and corners of the cloth stickers, to ensure it is perfectly pasted to your cloth (or other textiles).【Warm Tips】1.If you don't have iron on machine then try to use a hair straightener and pressed both sides of material and keep these heating product away from kids.2.Hope you clear about the size of each embroidery patches as the size picture shows. 【NOTE】1. Clothes (or other textiles) should be kept dry and do not spray water on cloth stickers or clothes when ironing. In this way, after the hot-melt glue are ironed, they can generally be closely combined with clothes (or other textiles) for a long time.2. If the embroidery patch falls off after a period of time, or after washing, it means that the iron temperature is too low during ironing or the ironing time is too short. You can repeat the original operation and iron the cloth sticker again.
Trustpilot
1 day ago
1 week ago