

⚡ Power up your home network, no dead zones allowed!
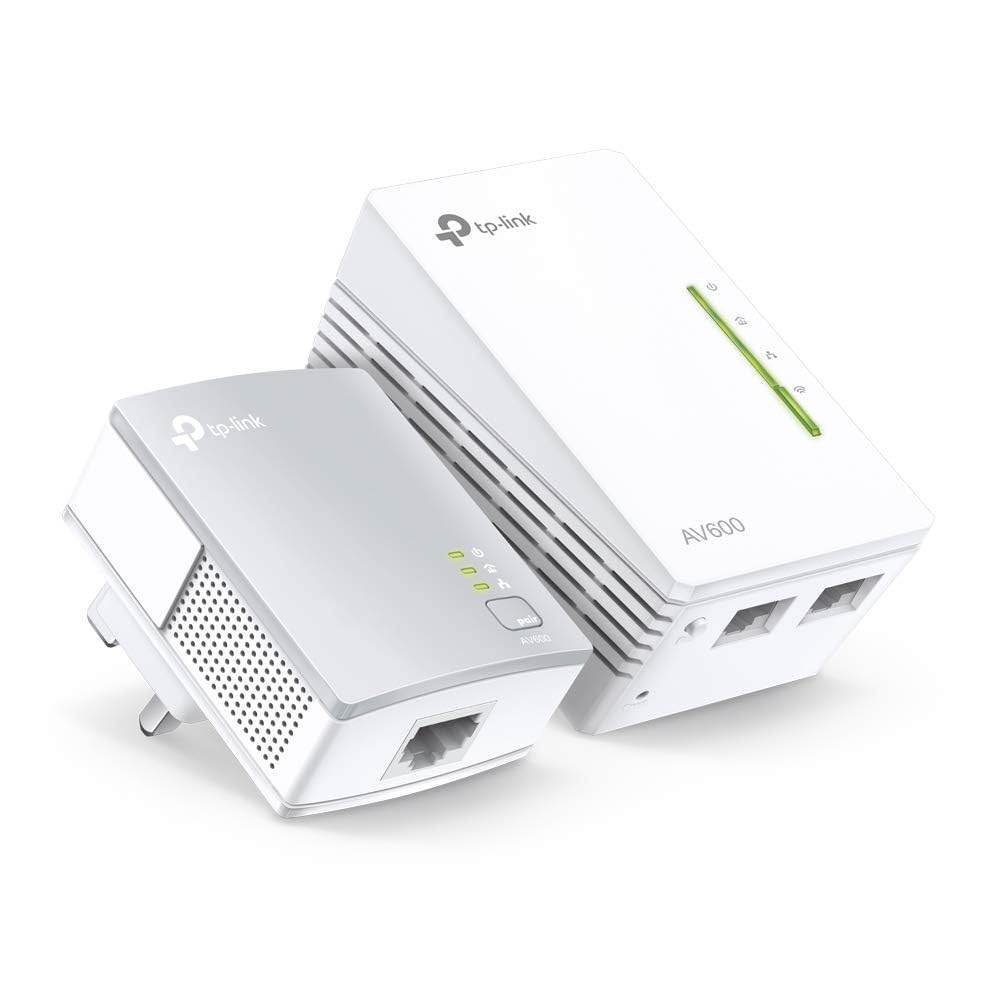
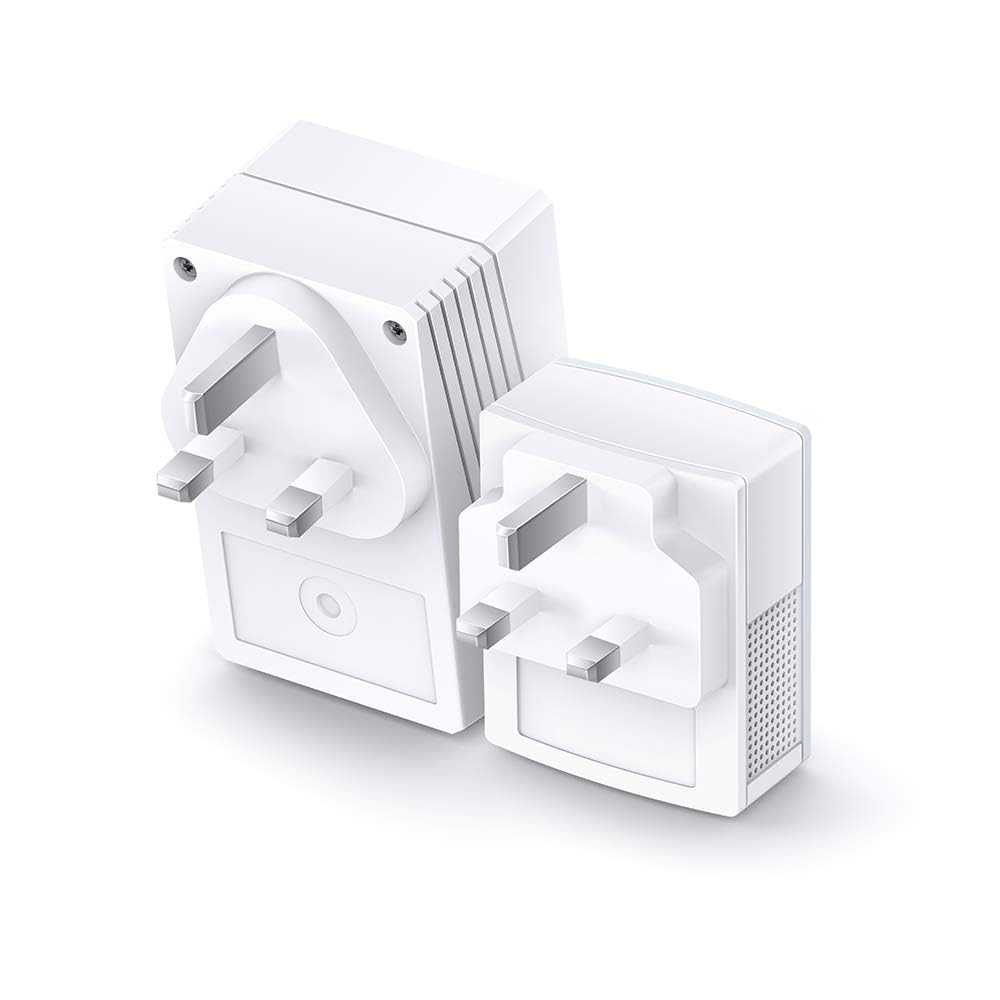
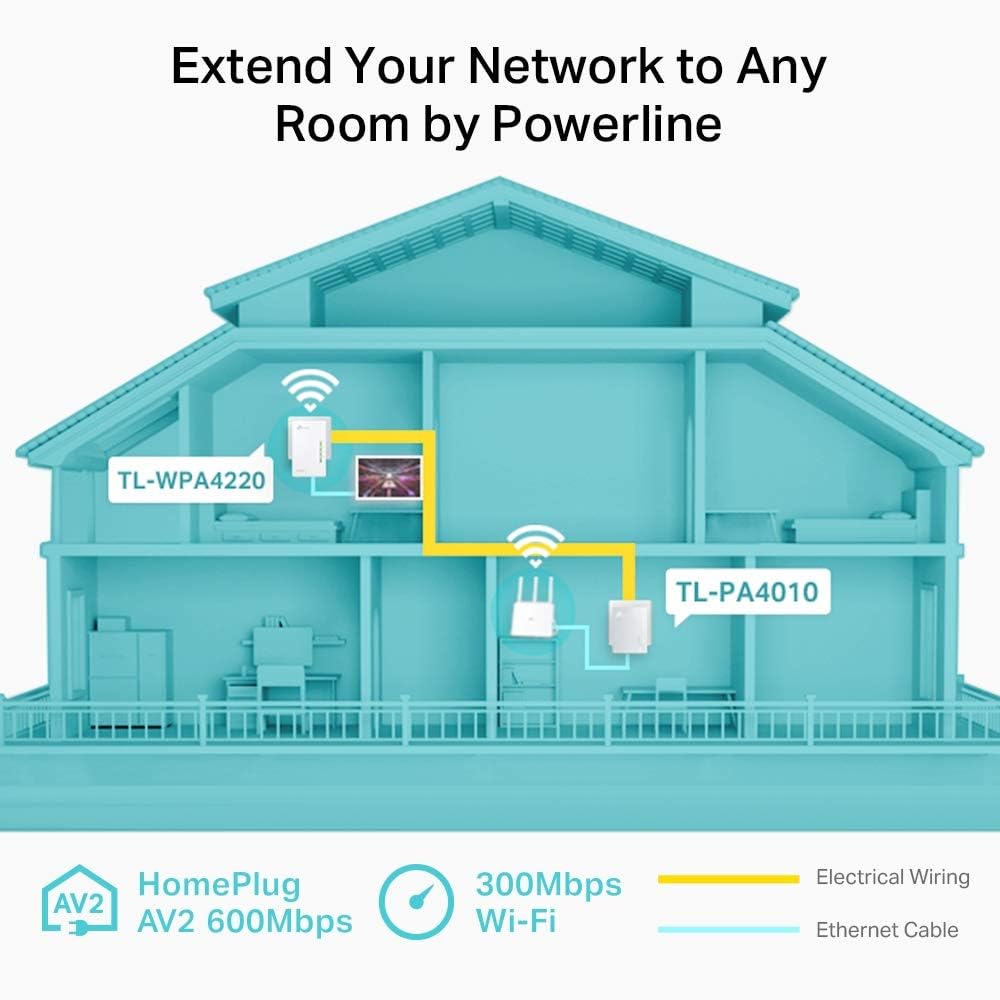
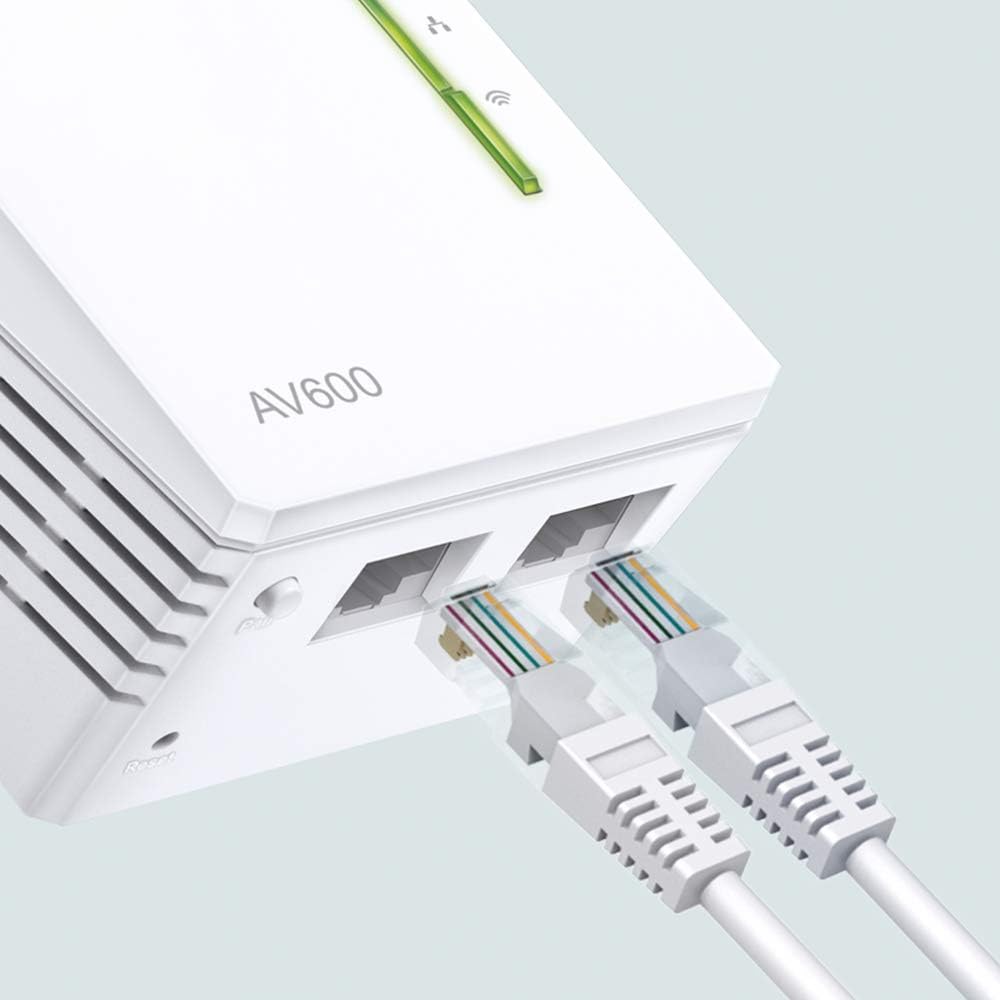
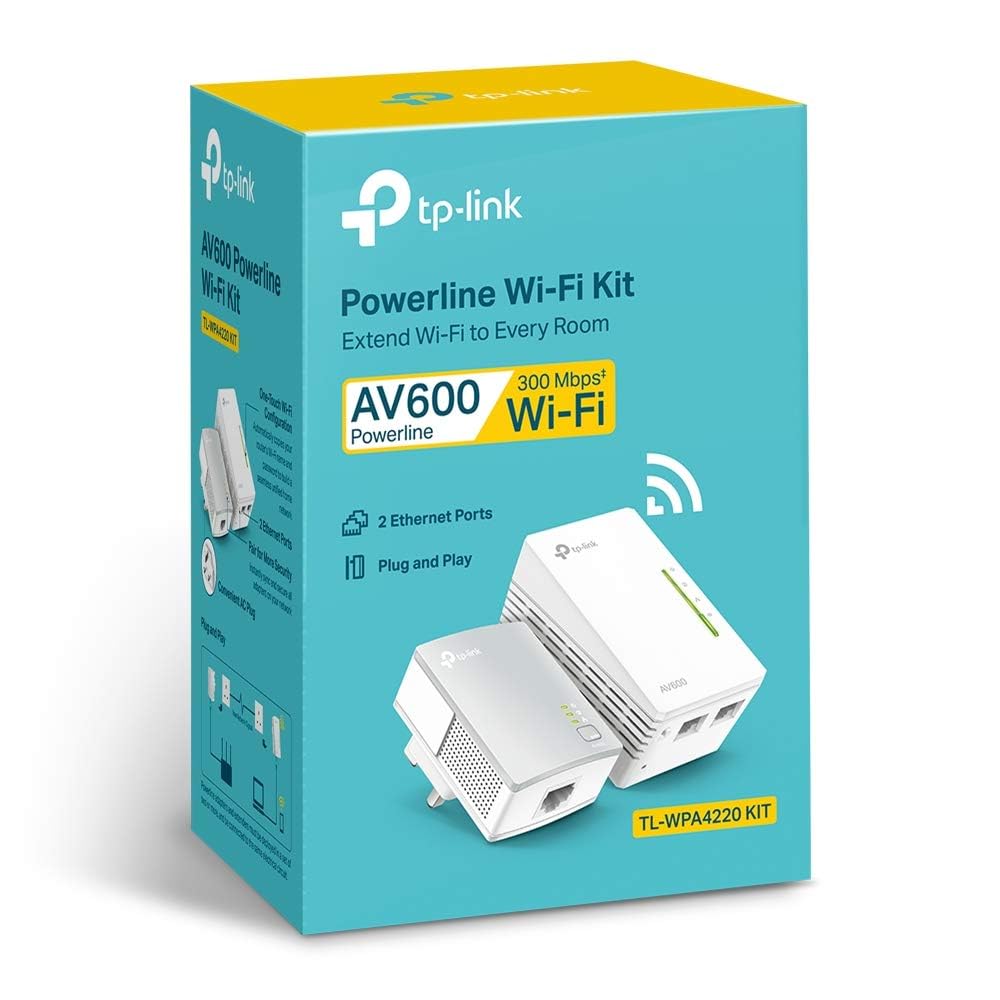
The TP-Link TL-WPA4220 KIT AV600 Powerline Adapter WiFi Extender Kit delivers up to 300Mbps over your existing electrical wiring, extending WiFi coverage seamlessly with WiFi Auto-Sync and a one-touch WiFi Clone button. Featuring 2+1 Ethernet ports for reliable wired connections, it supports multiple operating systems and offers plug-and-play setup, making it ideal for ultra HD streaming, gaming, and smart home connectivity.


| Brand | TP-Link |
| Product Dimensions | 5.4 x 9.4 x 4 cm; 230 g |
| Item model number | TL-WPA4220KIT(UK) |
| Manufacturer | TP-Link |
| Colour | Multicolour |
| Wireless Type | 802.11b, 802.11g, 802.11n |
| Operating System | Linux,Windows |
| Are Batteries Included | No |
| Item Weight | 230 g |
| Guaranteed software updates until | unknown |
G**Y
A cost-effective solution - for us
I purchased both a TL-WPA4220KIT and TL-PA4010KIT as part of the same home WiFi solution. As such, I have given the same review for both purchases.We have a long thin Victorian house with a BT HomeHub-5 in the front lounge. We have a ‘copper’ connection to the BT exchange as fibre is not available in our area of London yet. That said, we usually get a reasonable 9-10Mbps connection. Our problem is that we cannot get usable WiFi coverage in the kitchen at the rear of the house.We initially tried to use WiFi signal extenders but these proved slow and unreliable. So, about 3 years ago I purchased an AV500 PowerLine solution from SAGEMCOM. This included a Powerline WiFi extender in the kitchen. This proved to be adequate though we did need to reset all of the adapters about once a month when things ‘locked up’.Then, a month ago, the WiFi adapter in the kitchen handed in its cards and died.Thinking I would try for a higher-tech solution I purchased a WiFi Mesh solution on Amazon. However, this proved to be a complete disaster being slow and totally unreliable. I suspect this was due to the requirement for overlapping WiFi signals between the nodes. Also, as we live very close to the Crystal Palace TV transmitter, we are susceptible to RF interference.So, it was back to the drawing board and I returned to the tried and tested PowerLine solution. I chose these AV600 kits as I have always liked TP-Link products and found them dependable and reliable. As such, in total, we have 3 x TL-PA4010 mini PowerLine adapters and a TL-WPA4220 WiFi extender (in the kitchen). One of the mini adapters in located in the lounge and is connected with a LAN cable to the BT router. The other 2 adapters are in the bedroom. One is connected to a BT YouView box and the other to a Roberts Internet Radio (neither of which support WiFi). A secure network was made by connecting all 4 units in turn by use of the ‘pair’ buttons.All then burst into life and worked fine. The WiFi extender was using its factory SSID and password. I successfully trialed changing this by logging onto its admin screens using a browser (you will need to know its IP address to do this – I picked it up from the BT Hub setup menus). But then, I used the ‘WPS’ method to clone the BT Hub SSID and password instead by, temporarily, moving the extender to the lounge and following the easy ‘quick setup’ guide. This worked a treat and everything has now worked without hiccup for over a month.I have had previous issues with cloned SSID’s - with mobile devices getting confused when connecting. However, thus far, we have not had any problems and devices switch between the BT router and TP-Link extender (as we move around the house) without issues. That was a pleasant surprise!I did get the tpPLC android app for my mobile and its quite informative. It has a poor rating in the Google Play Store but this is IMHO, unjustified. It has no whistles and bells or astounding graphics but it does a job simply and well. I can see the status of all adapters and the speed of communication between each one. I seem to be getting a respectable 380-450 Mbps between each device except when they are idling and the communication rate drops to, I presume, a default 11 Mbps. The app also allows you to rename the devices (which may be useful for any future trouble shooting) and it can used (apparently) for firmware upgrades. Alas, it cannot be used to restart devices (it only allows a factory reset). Nor, can it be used for changing the settings (SSID ID etc) on the extender – this can only be achieved by ‘browser’ access.So, we are pleased. This solution is (thus far) reliable and is reasonably priced. It is also easy to set up (though my prior experience in this area helped) and it’s a step up from our old SAGEMCOM PowerLine solution. Had BT supplied us with a higher speed ‘fibre’ internet connection, I would have gone for say, an AV1200 setup with dual band WiFi.As it is, this meets our needs. Also, if you have a shortage of mains outlets in your house, you may want to opt for more expensive ‘mains pass-through’ adapters.NOTE. I see there are a number of debates on Amazon regarding the reliability of PowerLine solutions.ie. Some people are extremely happy while others have persistent problems.This is not peculiar to TP-Link products.Based on my experience, I would suspect that performance is directly related to the state of the house mains wiring. Our house has recently been rewired which not only improves (and reduces the number of) connections, but potentially shortens cable runs too. As such, unfortunately, a PowerLine solution may not be ideal for everyone - particularly in some older houses with extensions and complications added over the years. You may need to 'suck it and see' to decide if it works for you.
D**D
Excellent Product
I had already installed a Velop mesh WIFI system in our new house and that works really well. It does rely on you being able to hop from one base station to the next and provided they are in range all is well. Not cheap by any definition but does provide a single cohesive network for the whole house.We recently renovated some outbuildings into workshops and garages and while this was wired from the main house the WIFI strength made the mesh extension option a bit risky as the signal that would need to be boosted was very weak.I came across this product while researching alternatives and was pleased with the excellent reviews on Amazon and decided to give it a go as the cost was not prohibitive in any way.Set-up was very easy and despite the instruction that you connect the base as close as possible to the router I found that the length of power circuitry was a more important factor. I tried "the close to router" approach but the WIFI station failed to pair. I had installed a Cat 7 ethernet system in the house when it was being built and had a number of ethernet ports in various locations to choose from. When the base station was relocated on a shorter spur to the main fuse board it paired successfully and provided a solid WIFi signal in the workshops.The main connection into the house is 300 MBs and even though the signal delivered in the workshops is a fraction of that at about 12 to 20 MBs it is perfectly adequate for what we need.The workshops are connected to the main house by a buried steel wire armoured cable and they have their own distribution board. I was pleased that the devices worked over this configuration and have no doubt that extending within a house on the same circuit would deliver considerably higher speeds.Take it from someone who spent in excess of £600 for WIFI mesh systems that this much cheaper option, with the WPS integration, would provide an equally good solution. Highly recommended and excellent value for money.
Trustpilot
1 month ago
1 month ago