

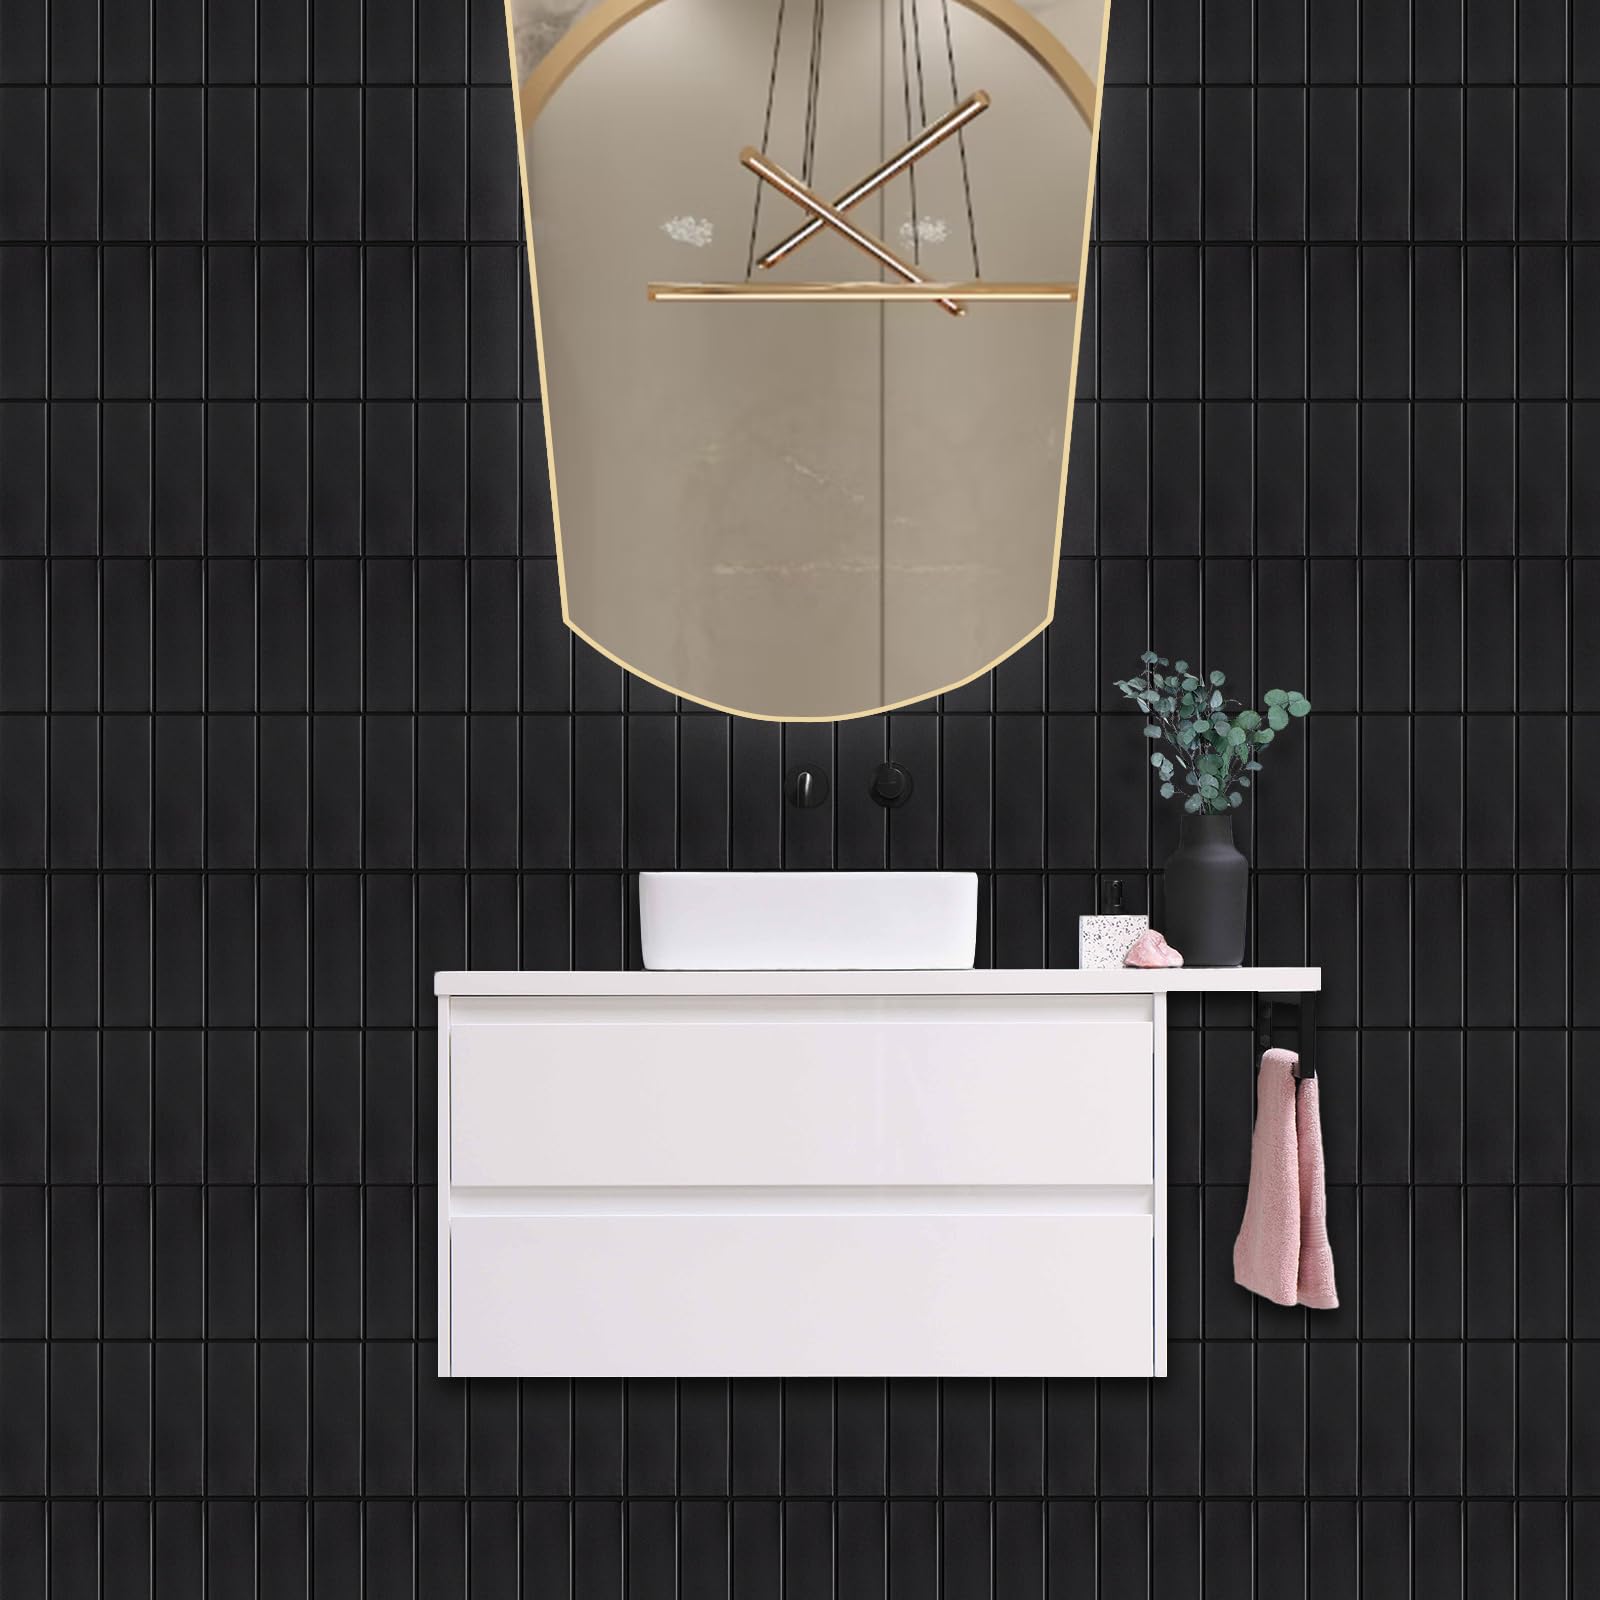
🖤 Stick to style, not the hassle!
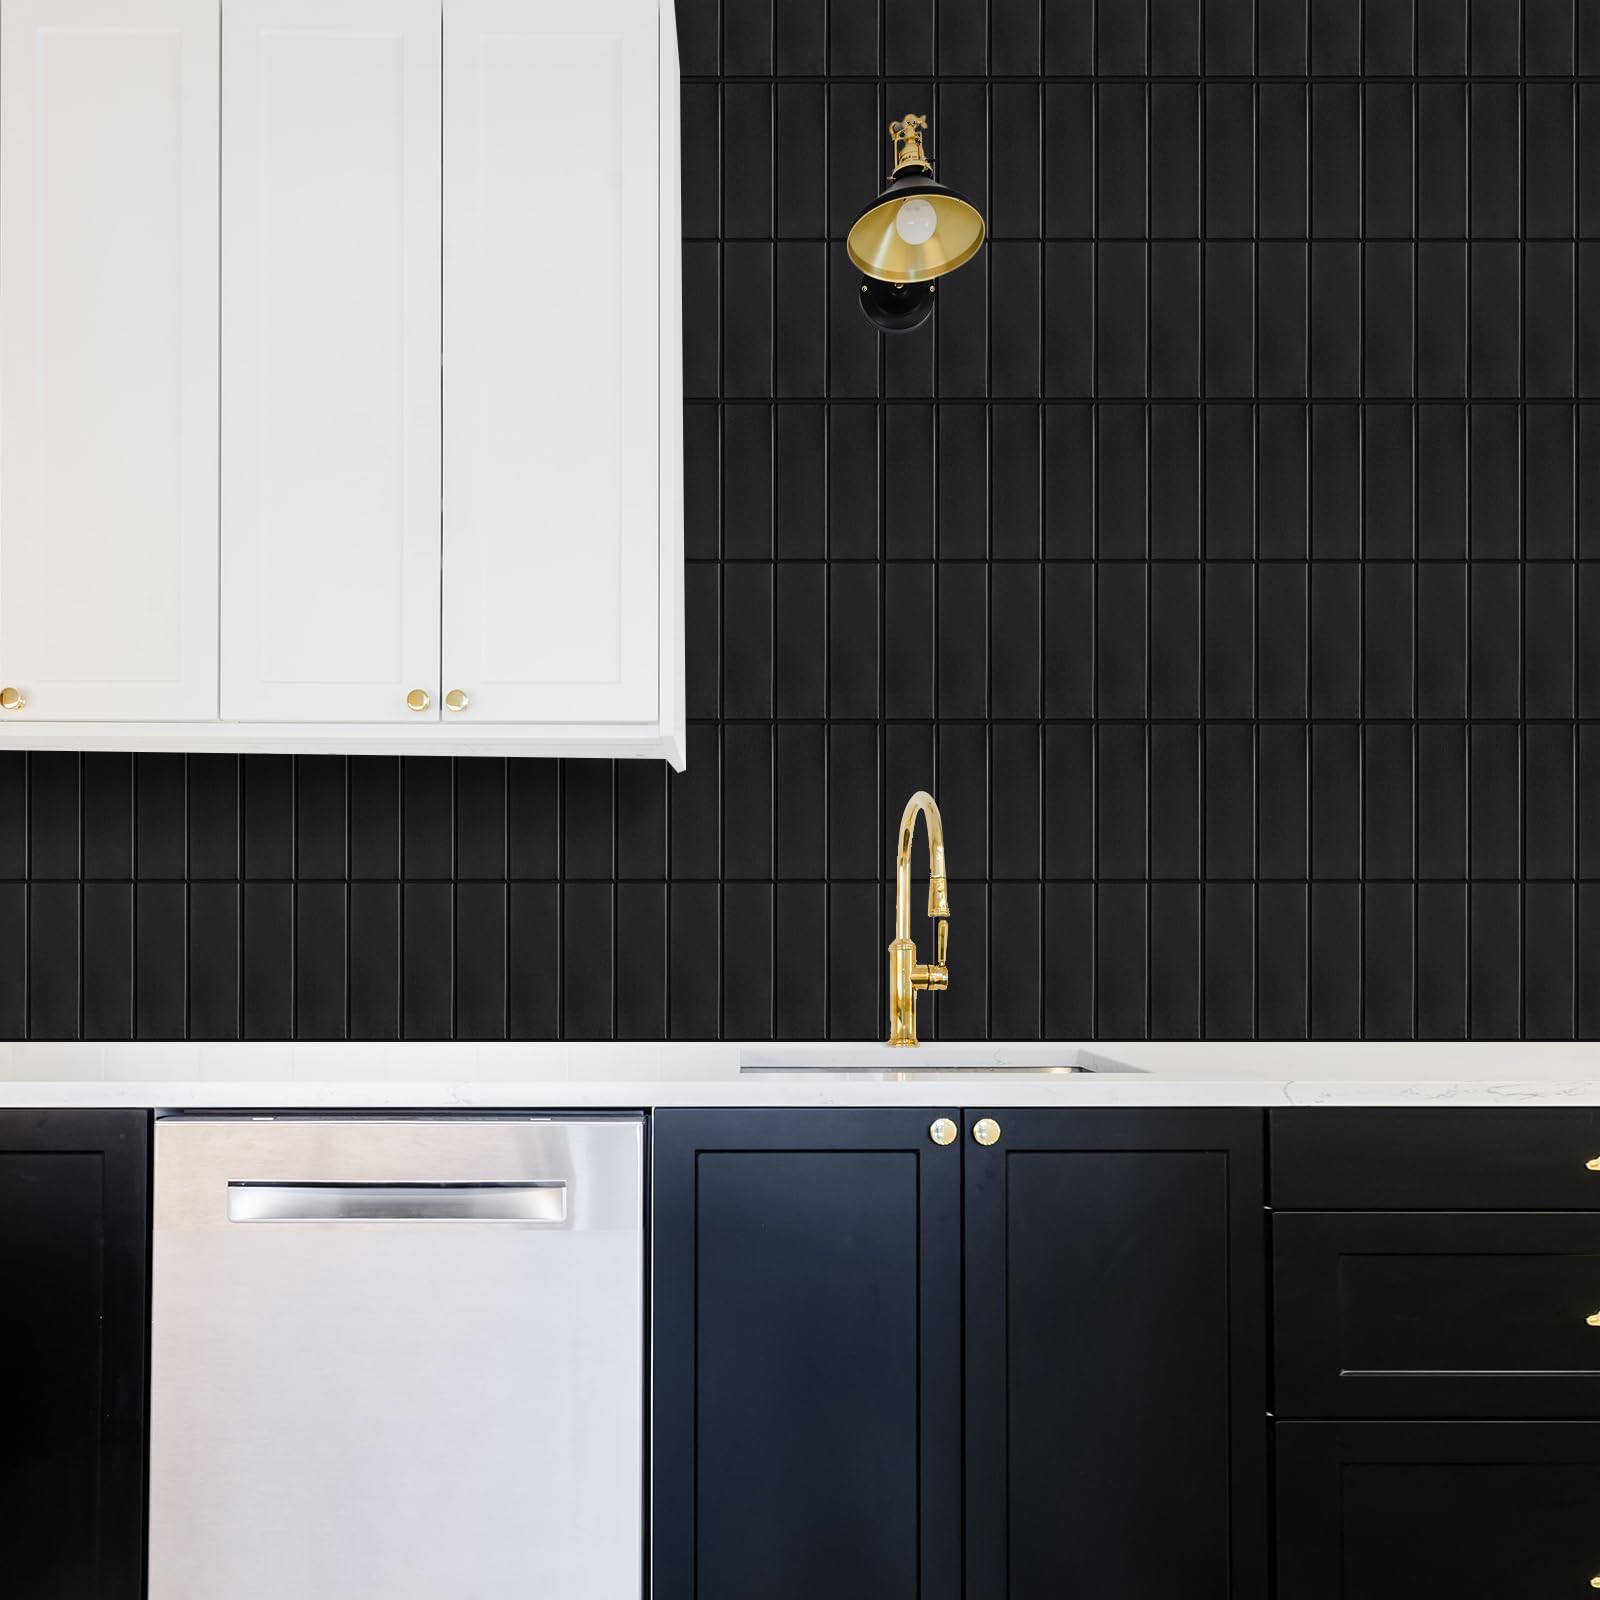
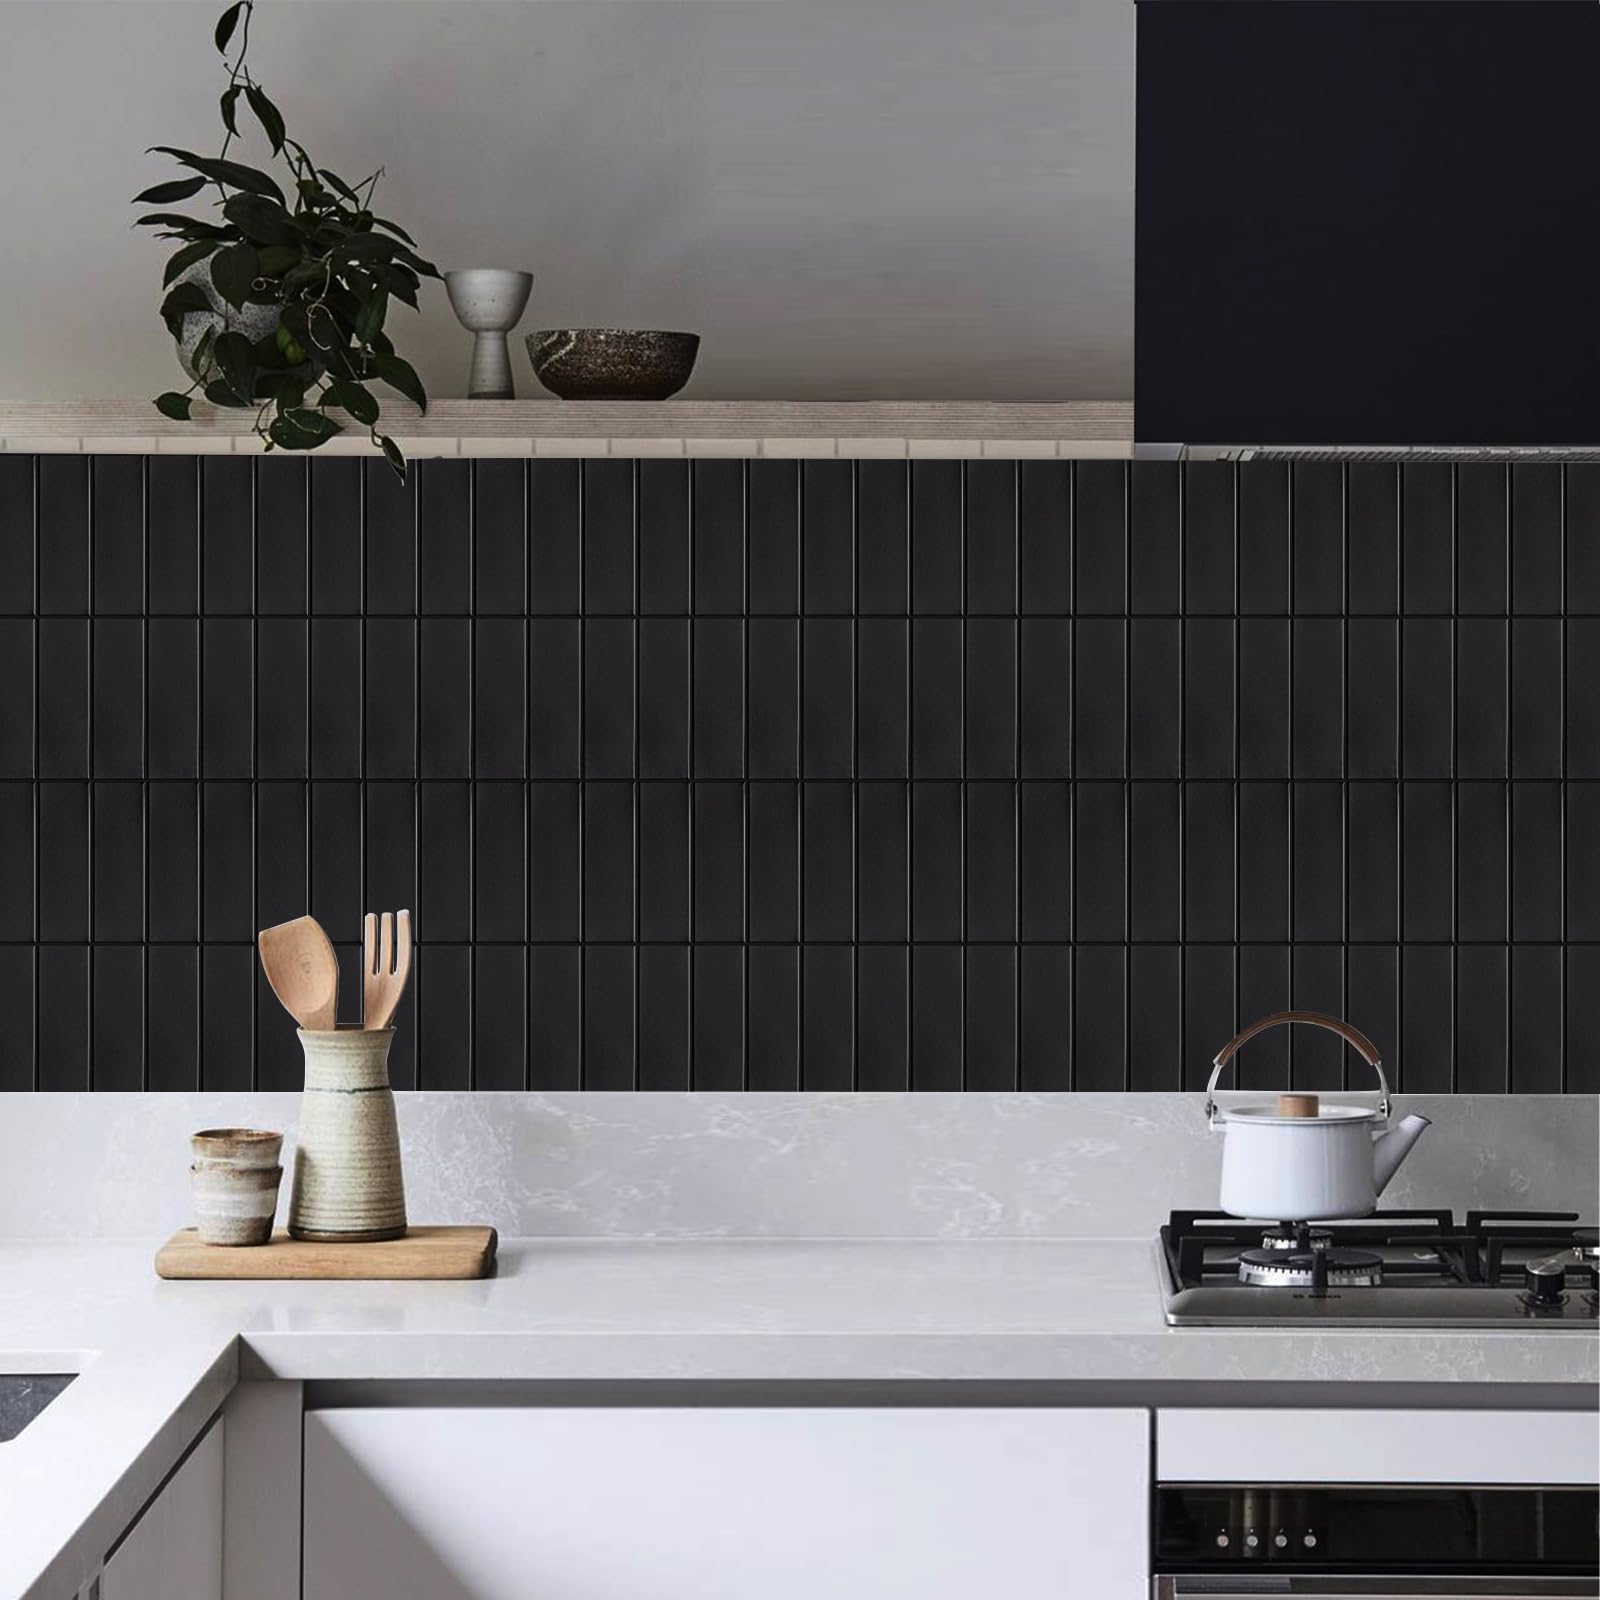
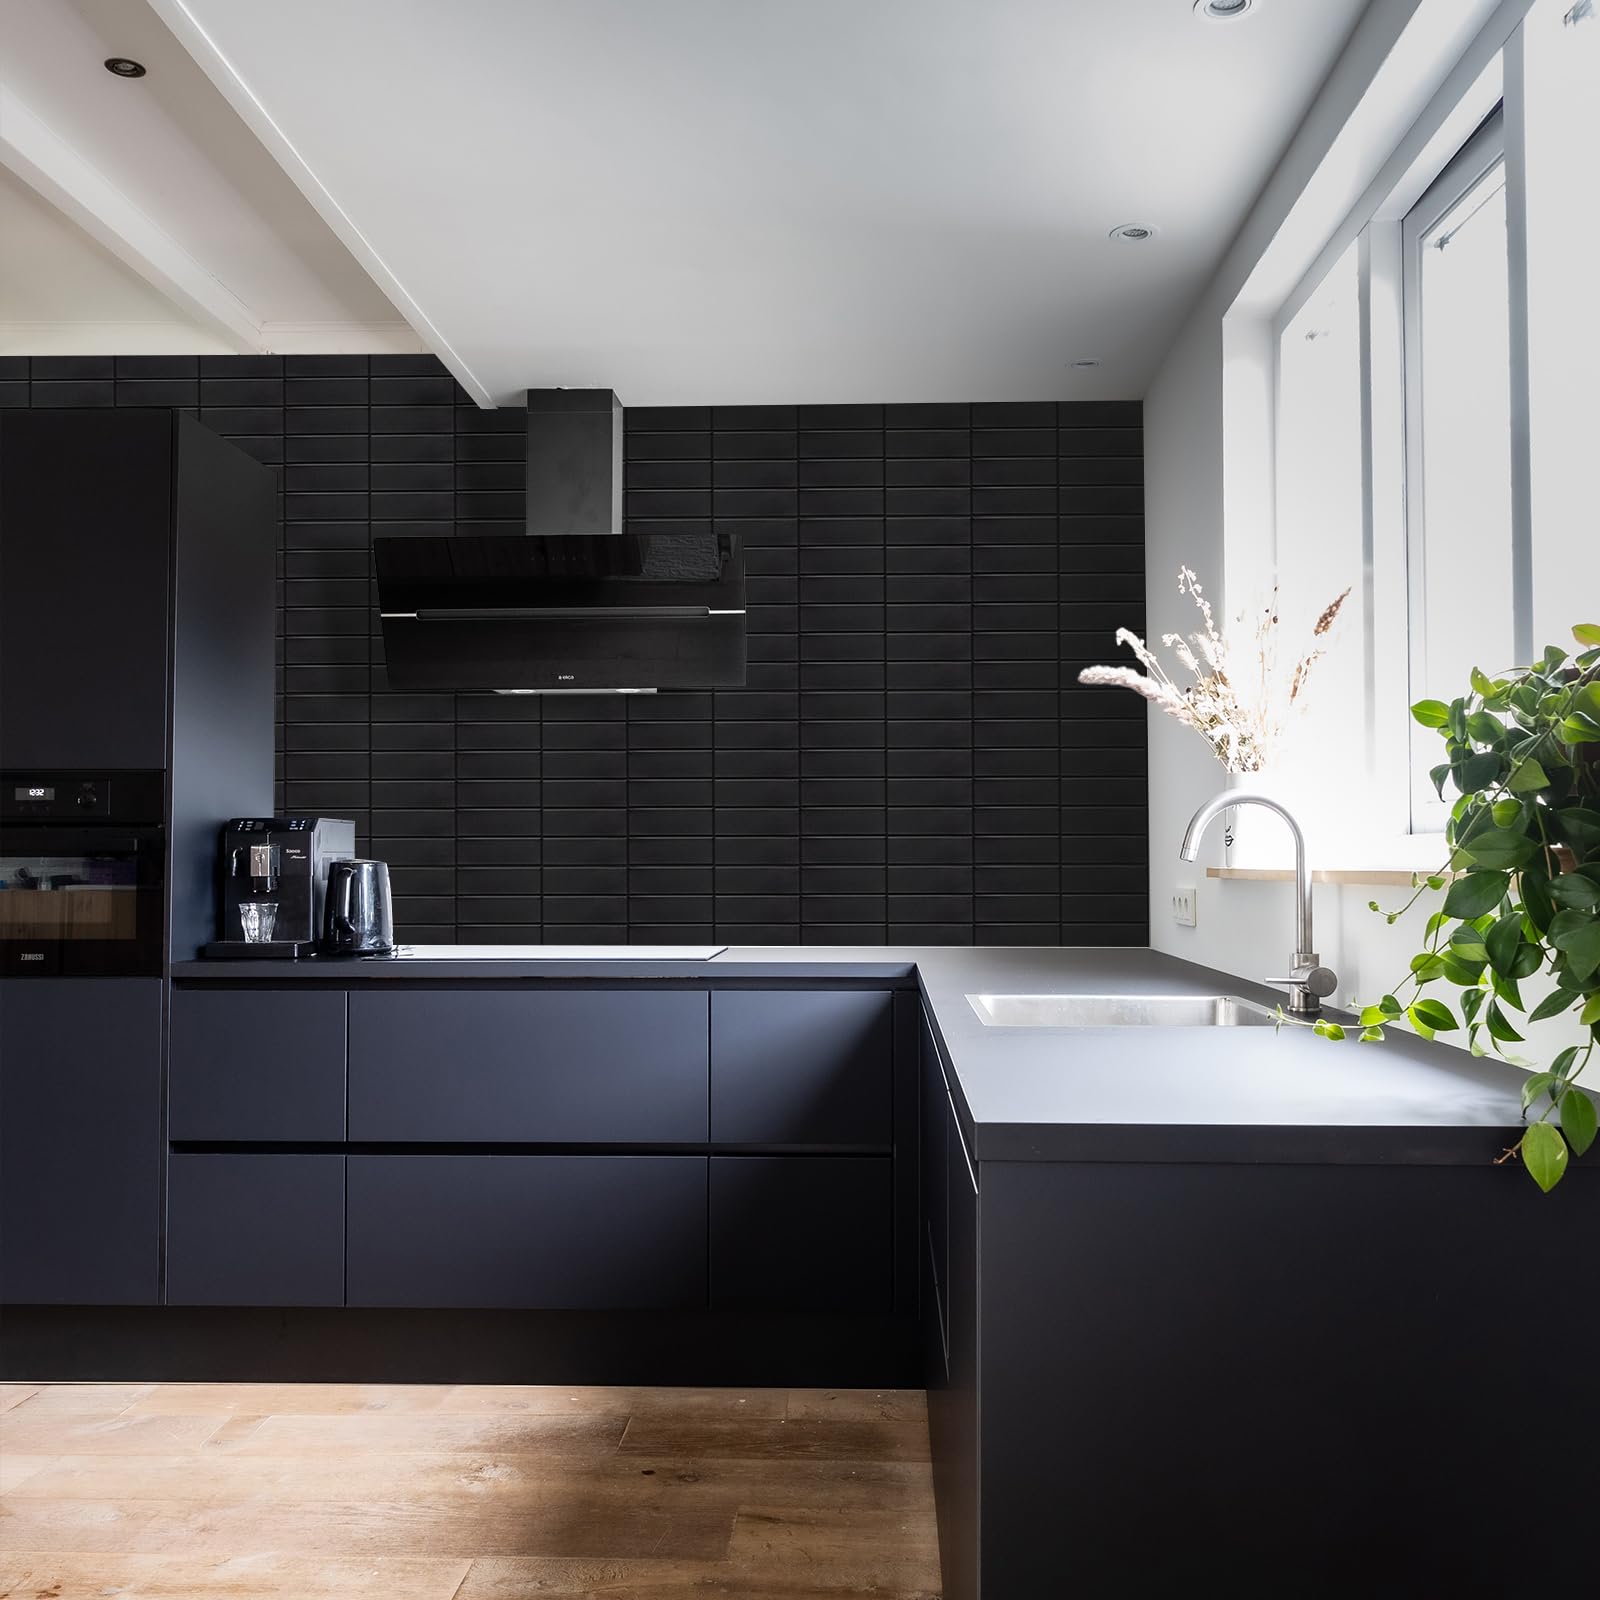
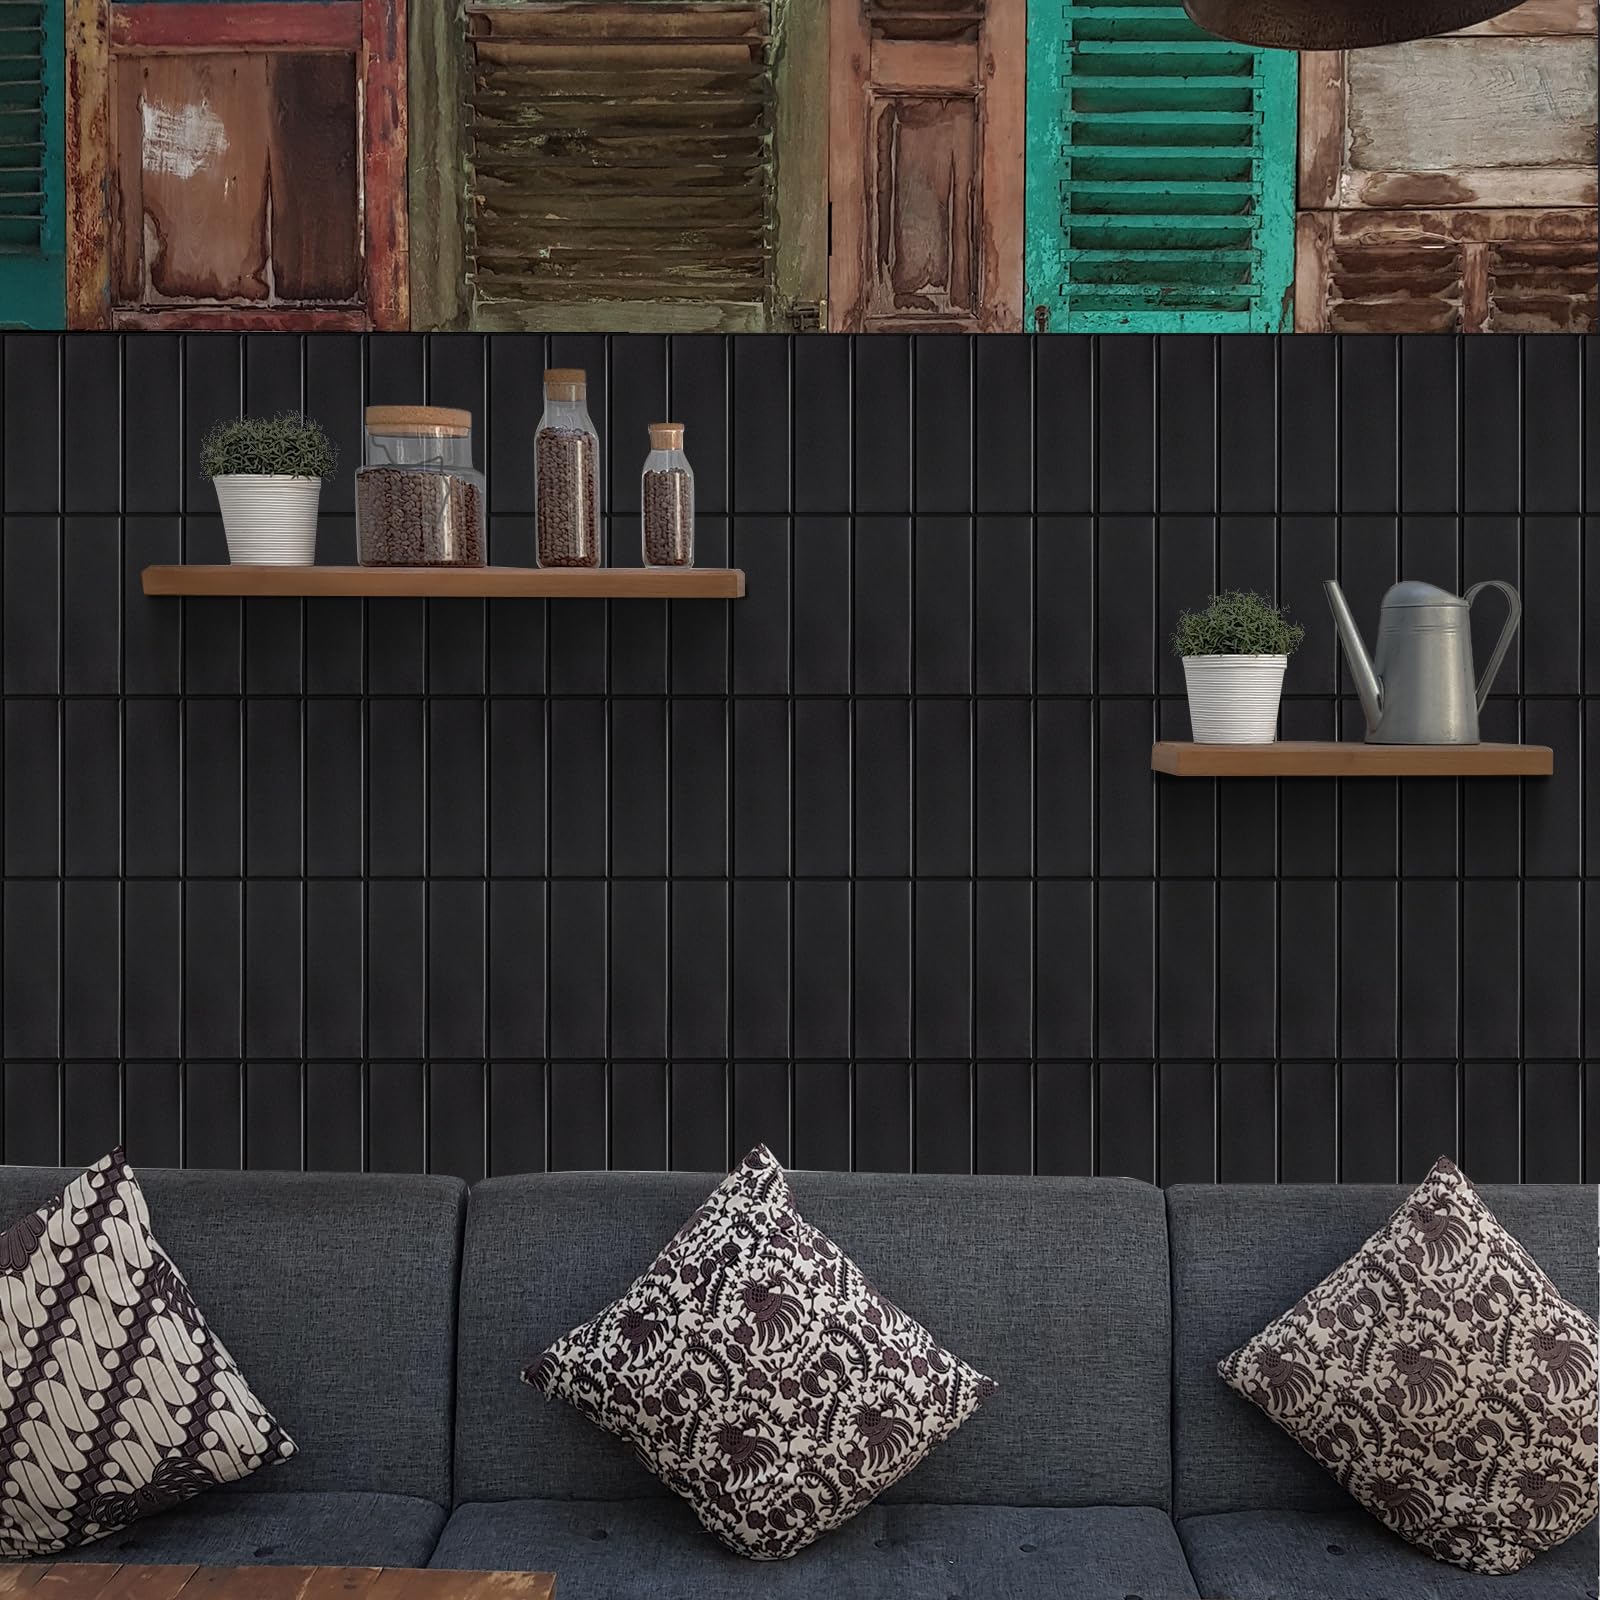
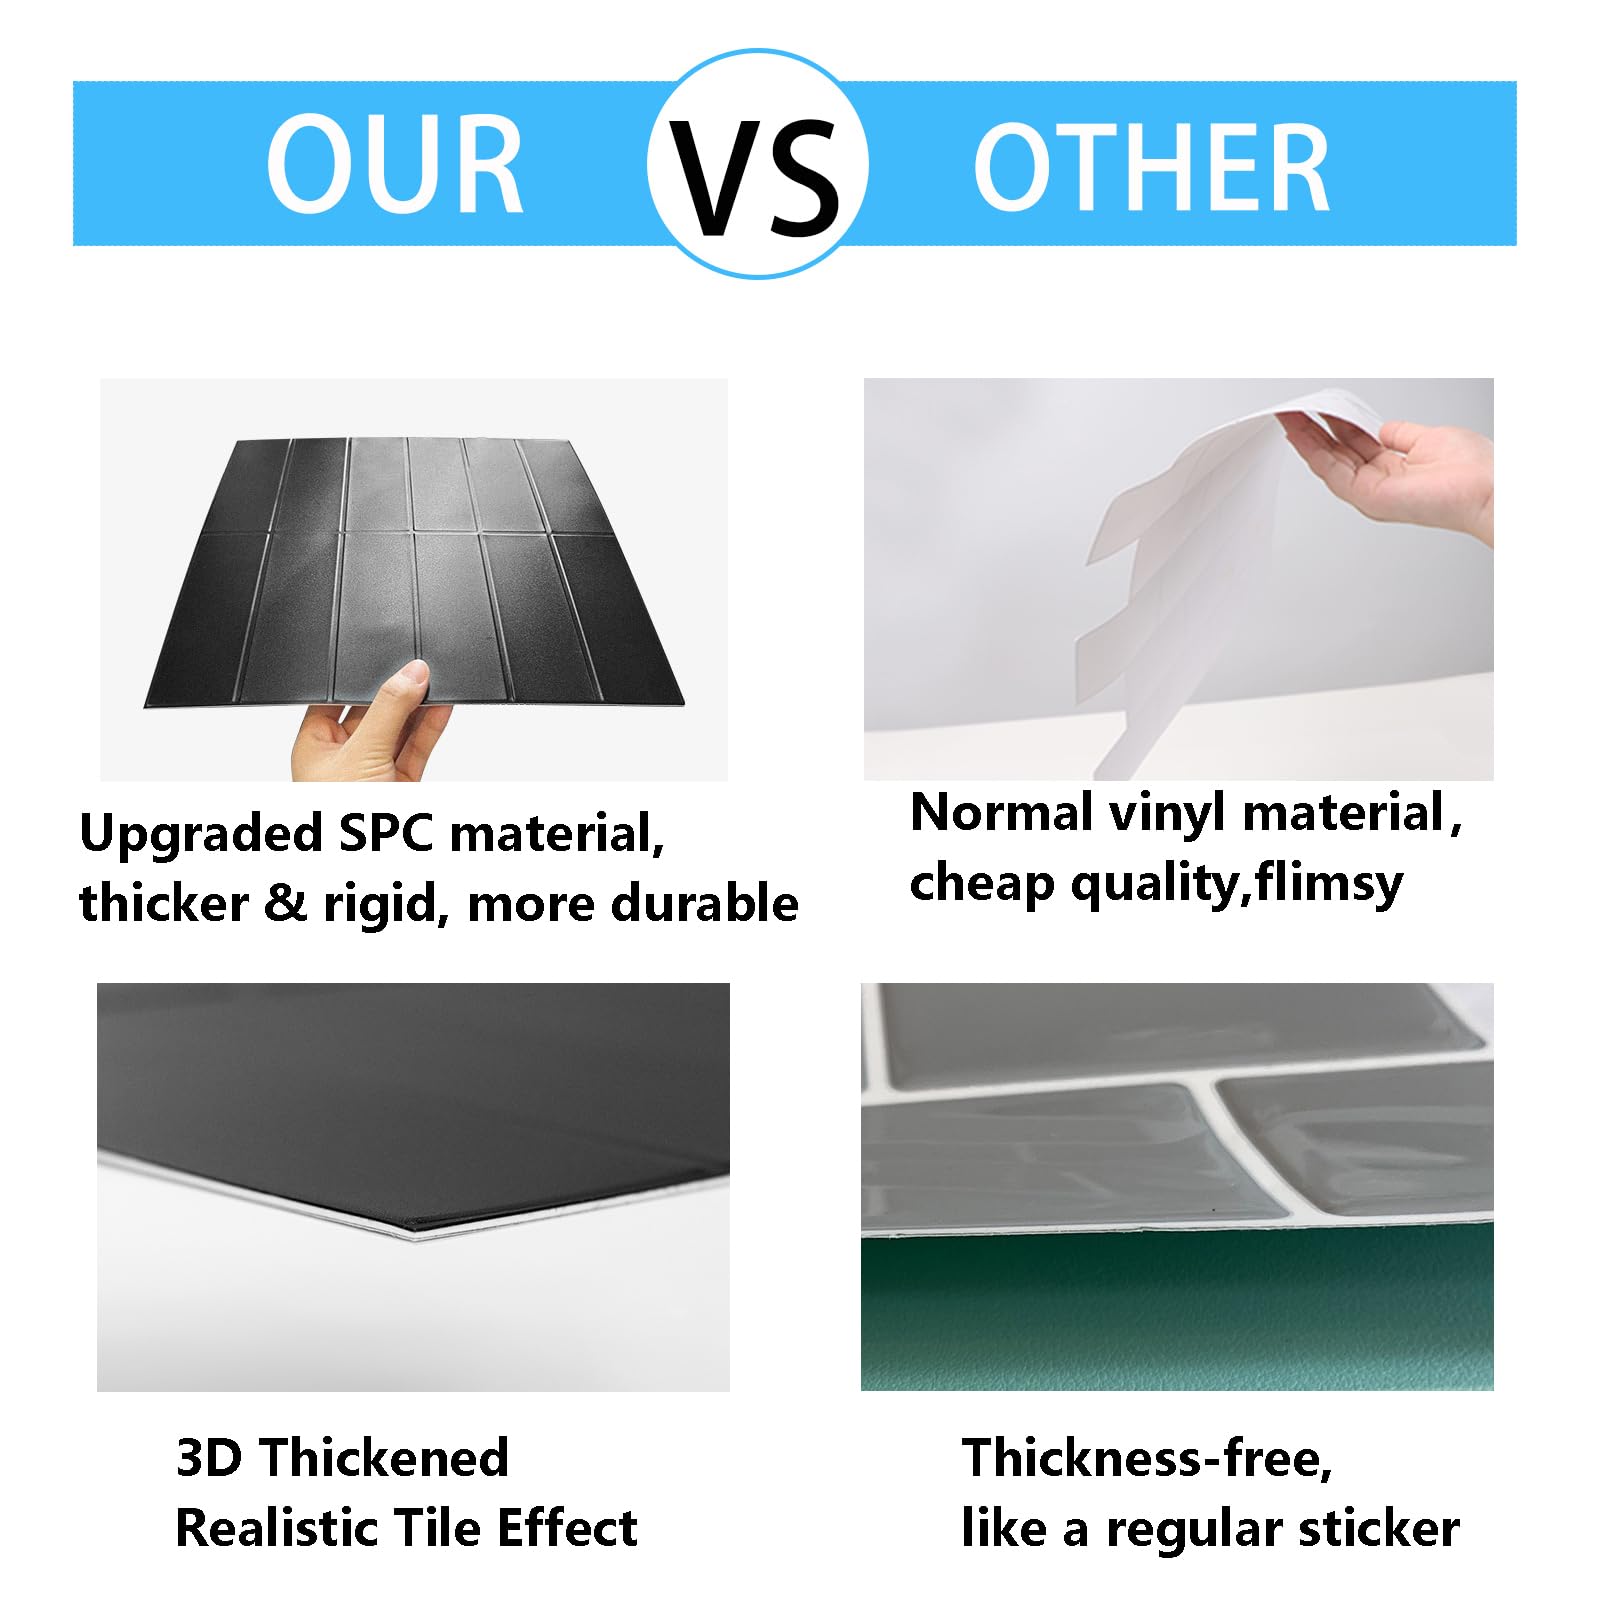
AdoDecor’s premium 12"x12" matte black peel-and-stick backsplash tiles combine 3D gel-like texture with 5X stronger adhesive for easy, durable installation. Made from eco-friendly, odorless PU gel and PET materials, these waterproof and heat-resistant tiles offer scratch resistance and versatile use across kitchens, bathrooms, RVs, and more—delivering a sleek, modern upgrade without the mess or cost of traditional tiling.
| Brand | AdoDecor |
| Material | PET+3D +PVC |
| Size | 12*12inch |
| Color | Black |
| Finish Type | matte |
| Style | Art Deco |
| Installation Type | Peel and Stick |
| Product Dimensions | 12"L x 12"W |
| Pattern | Solid |
| Shape | Square |
| Edge Style | Square Edge |
| Unit Count | 10.0 Sq Ft |
| Recommended Uses For Product | indoor |
| Coverage | Kitchen, Bathroom, RV, Living Room, Fireplace |
| Form Factor | Square |
| Water Resistance Level | Waterproof |
| Special Feature | Scratch Resistant |
| Manufacturer | AdoDecor |
| Part Number | VP571 |
| Item Weight | 1.5 pounds |
| Country of Origin | China |
| Item model number | VP571 |
| Finish | matte |
| Item Package Quantity | 1 |
| Cutting Diameter | 12 Inches |
| Special Features | Scratch Resistant |
| Usage | Inside |
| Included Components | peel and stick tiles |
| Batteries Included? | No |
| Batteries Required? | No |
| Assembled Diameter | 12 Inches |
D**R
Sticky, looks nice, cuts easy
Super sticky, I think these will stay unlike reviews I’ve seen of other peel and stick tiles. Nice color and not too hard to line up, as I just layered the small outer lip of one onto another. Easy to cut, the top two rows of tile in the picture are cut and added from another sheet, you can’t tell at all unless you get super close. I’m going to get another pack and extend further into the kitchen!
T**I
Easy to install!
Easy to install and looks great! Perfect for our small cabinet area in our basement.
K**N
Very cheap look and difficult to install
I was highly disappointed by this product. Looking at each sheet it is beautiful but placing each sheet onto the surface is not only time consuming, difficult but tedious. I spent about 4.5 hrs to complete it and it was a complete failure. Lining up each sheet so that everything looks even is nearly impossible but the worst part is the air bubbles that form. I tried every which way to remove them. Removed and re-sticked multiple time and nothing work. From far and in dim lighting it looks OK but really it looks so cheap and awful with those air bubbles shining through the entire backsplash. Don’t be fooled by thinking that this is a quick project that will leave you with a flawless look because it will not. I’m so sad about the money and time spent on this. Such a waste.
I**!
These look so good!!
These are so incredible and look so real and so good! The only issue is that they do not stick well around curves. Flat surfaces only. They’re okay to cut but unfortunately the plastic on the actual tile bits flares up making it hard to blend cut pieces together. Unless you’re doing an absolutely flat surface like a wall (not a piece of furniture with rounded edges and corners) you’re going to have a hard time. Even with super glue.
C**N
Great, but-
The finish in the tiles look great BUT the backing is a white foam- I wish it was a black foam to hide and edges a bit more. A could corners have lifted a bit, I’ll just add some wallpaper tack to the back to help with that.
C**.
Holding up in shower
Close to 8 months later they're still holding well! Used them to renovate our bathroom. They fit perfectly over the existing tile we had.
N**Y
Incredible Transformation!
I rarely write reviews, but I had to share what an incredible transformation these tiles made to our laundry room. I was looking for a temporary solution for our backsplash / wall that didn't require a contractor, and I couldn't be happier with the results. Yes, they do look slightly wavy when applied to a wall (particularly with a textured surface), but I felt that it added to their charm. As others have said, these are very sticky... and if you pull it off the sheet fast, it may curl into itself and get stuck to itself. Take your time, and as the saying goes, "Measure twice, cut once." Tools you'll need are a sharp pair of scissors, a ruler, and a long level to keep things straight. I set my first row using a level, drawing a level horizontal line across the entire wall. The area I was working with involved some cutting, but with careful measurements everything lined up nicely. Make sure you completely overlap each grout line with the next piece to keep the grout lines evenly spaced, and press down to secure. I couldn't be happier with the results of this DIY. I ordered 5 packages (50 SQ ft) for this project, but only needed a little over four. For around $130, these completely transformed our room. If you're hesitating, just get them. You will love the outcome!
B**E
So easy to stick!
I had the other puzzle piece looking peel and stick for a few years. The white turned yellow. Soooo I decided to get squares only so it was less cutting and figuring out. These were so easy to handle and stick on! The color is awesome too! Highly suggest these!
Trustpilot
3 weeks ago
2 days ago

