


🚀 Unlock Instant Comfort & Control—Start Your Drive Before You Arrive!
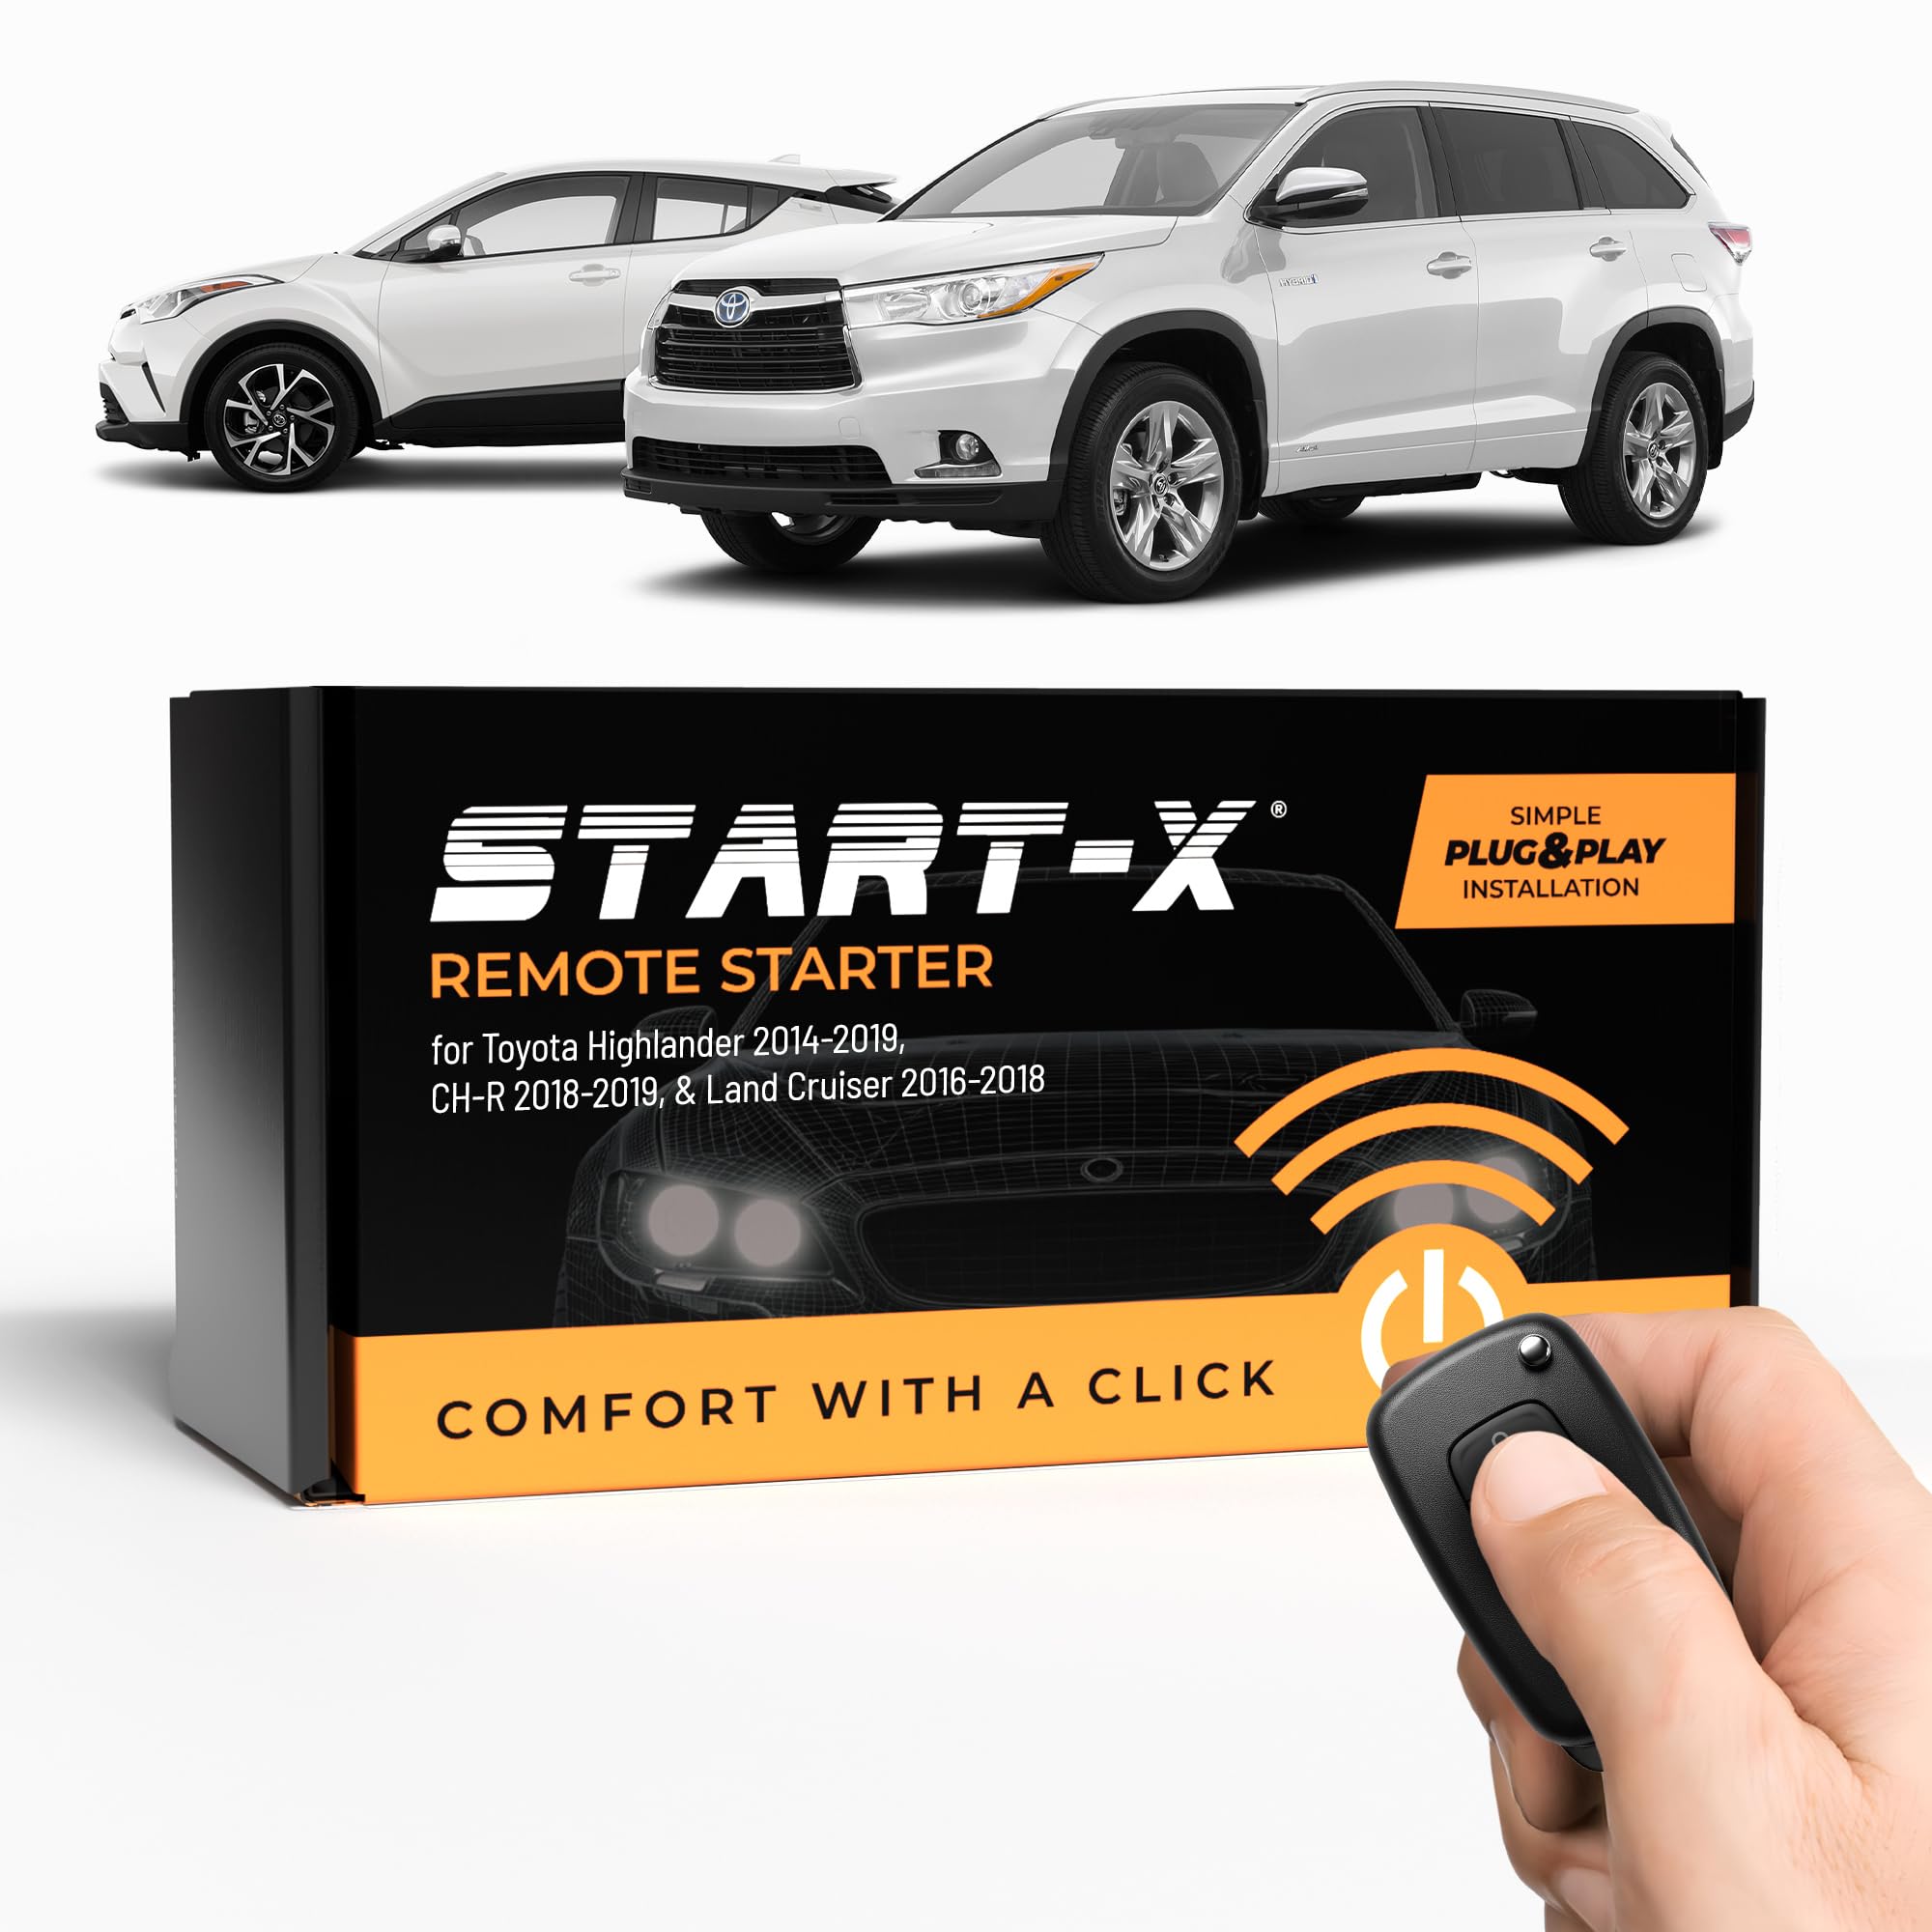
The Start-X Plug N Play Remote Starter Kit offers a hassle-free installation with a unique T-Harness designed for select Toyota push-to-start models. It enables remote engine start and stop via your factory remote’s triple lock press, allowing you to pre-condition your vehicle’s interior climate. Compatible with Highlander (2014-2019), C-HR (2018-2019), and Land Cruiser (2016-2018), this kit excludes hybrid models and prioritizes safety with automatic engine shutdown upon door opening.


| Manufacturer | Start-X |
| Brand | Start-X |
| Item Weight | 10.7 ounces |
| Package Dimensions | 8.07 x 4.13 x 2.24 inches |
| Item model number | T6B |
| Manufacturer Part Number | T6B |
J**.
Works fantastic in wife's 2017 Highlander XLE! Instructions within.
My wife LOVES this product and it saved us the $800+ dollars the dealer wanted. Let me say that again. My wife LOVES this product and it saved us the $800+ dollars the dealer wanted. and again... My wife LOVES this product and it saved us the $800+ dollars the dealer wanted. and just one more time... My wife LOVES this product and it saved us the $800+ dollars the dealer wanted.The remote start works almost exactly like my Toyota Sequoia Platinum. Click LOCK 3 times and hold down the 3rd a moment and it starts which is great because summer is HOT and getting into a cool car rocks, and winter is COLD and getting into a WARM car rocks! It also keeps the door LOCKED and car safe. It's so convenient. She starts the car from her house and by the time she gets to the car it's ready.To stop it, it will stop on it's own in around 10 minutes or so. I haven't timed it on either car. You open the handle, with keys in hand, and it stops. Or you click lock 3 times and hold down the 3rd lock a moment and it stops. This is the main difference between my Sequoia and the Highlander.The video instructions could be a lot better. There's another manufacturer that gives excellent instructions but I'm glad I bought it here as the product here has a better cable and they offer free returns! Also, the seller contacted me to make sure I had bought the right product and understood what was going on. I appreciated that hands on experience.The installation itself was easy. Opening the dash was scary on a 40k car and these instructions don't quite cover that.You can find it on youtube but you basically:*Press start* WITHOUT putting foot on break, twice. Turn the steering wheel all the way to the right, exposing the Phillips screw. The screw is surprisingly loose but the steering wheel is stiff. Then turn it the opposite way and remove that screw.After that, you unlock the steering wheel and pull it up. Then using the tool sent you gently pry apart the two plastic steering wheel parts. They come apart like a cheap snap toy.Then you find the two phillip head screws at the bottom of the dash and remove them.Then, using the pry you undo the side plastic thing. It comes on easily but getting it back on might require the rubber hammer.There is a little plastic thing under the emergency break that my wife took off. I took off the BIG plastic strip that goes along the drivers side. Then unsocketed the 10mm socket that holds it together. This big plastic thing comes off easily and you don't need to take it all the way off. It also goes on easily when you put it back together.Now you locate the black plug under the steering column and simply unplug it and plug it into the awesome cool cord they send.Then you carefully run the cords thru the back which is easy because of the minimal connections.Then you find the white plug in the back. It comes out surprisingly easy and snaps into the same adapter and plug it back into the plug.Remember, all this time your car will have still been on.Then there's a black connector that goes into "the magic box". While pressing down on the button of hope, you plug the black connector in and don't take your finger off the button until it turns blue. When it does I quickly plugged everything in, and it started to blink blue. We pressed the start button on the car (without depressing the brake) and the box turned orange. Maybe this is an error? But it worked. Everything worked perfectly. Everything.So we put it back together and closed the hood because YOU WILL OPEN THE HOOD. If you don't open the hood then you need to change professions and become a mechanic/technician.Snap and screw everything back together in reverse order and MAKE SURE YOU DON'T IMPEDE THE EMERGENCY BREAK. Don't worry, with this great, no extraneous cable cord, you will not. You don't even need the ties. And you are done.This is unbelievably easy. Especially once you reconcile the instructions with the videos and a nervous wife.So, thank you, thank you, thank you!!! -- awesome product! Love ya! Best thing I've bought in a LONG time. My wife is super happy and thinks I'm a superhero. This was her birthday present.Now where can I get a safe and easy LED light upgrade for my 2016 Toyota Sequoia Platinum and all will be well in the world. Except that virus, I guess...
C**L
Works great, easy to install
Quick, easy install. I love the fact it’s 3 lock clicks and it starts up. Works great and adds a little value to the car too.
A**E
I don't do dishes
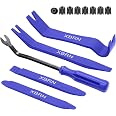
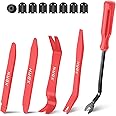
As a matter of fact, I hate doing the dishes. Laundry tends to pile up and I'm not exactly a great house keeper but I'm pretty good at building computers and troubleshooting.So, installing a remote start, like this one, is kinda right up my alley.I did watch a few different videos and the install seemed pretty straightforward. I thought it might me 20-30 minutes to install. So, I gathered my tools and Start-X remote starter kit and headed out to the garage.I began with popping off the dash panels. Some videos removed more panels than others and I came to find out later, I removed more than necessary. My mistake #1.After removing the panels, I followed a video and the booklet that was provided in the kit and began to connect the harness to the ECU. This looked fairly easy and since I have small hands, I had no problem attaching the harness and module. My mistake #2.After attaching the harness and module, your next step is to program the module by following a few easy steps. Then, it's done right? No.. not so fast there sister... The module was supposed to flash blue... instead it didn't flash or show any lights. The dash console informed me that there was an electrical error.Error?I unclipped the harness and redid the steps again. Four tries later and still didn't work. But that electrical error kept flashing after each try. Then I panicked... Did I just fry my ECU?No... it wasn't that drastic of a mistake but a mistake I did make.They don't have a support phone number so if you need help you can only email. Which was very frustrating.After back and forth emails, I was told to remove the harness and check the tiny pins inside one of the clips. Check if any are bent. Well... if you look at my last photo. One was bent.I had to figure out a way to unbending it with doing more damage to the pins. I used a tweezer to sorta straighten it out. I reattached the harness and module. Then one last try at programming or they would send me a new harness.It worked! That was my 3rd mistake. Not checking the pins before clipping it to the ECU. I should of checked it before I even tried to clip it.Now... my last mistake was doing this install to late in the morning and in the summer. I began at 8am, I live in Phoenix Az, 3 hours later it was 110° and I was trying to reattach the dash panels in a hot car with black leather seats. This was, by far, the worst part of the whole process. Reattaching the too many panels I took off. Also, they don't go on the same way the videos show how they came off. At least, not for my vehicle.Plus, if I didnt need my car... I would of lit a match and walked away 🔥But all in all... I'd buy it again. I'd just take it somewhere or hire someone to install it. Not necessarily because it was hard to do. Because by the time I was done. I looked like a red sweaty tomato 🍅**2017 Toyota Highlander XLE
A**E
Works great, easy install, on 2018 Highlander.
If you have any basic repair skills you can do this install.
Trustpilot
3 weeks ago
1 week ago
1 month ago
2 months ago